Package Contents

USB Type-C cable
USB Type-C cable

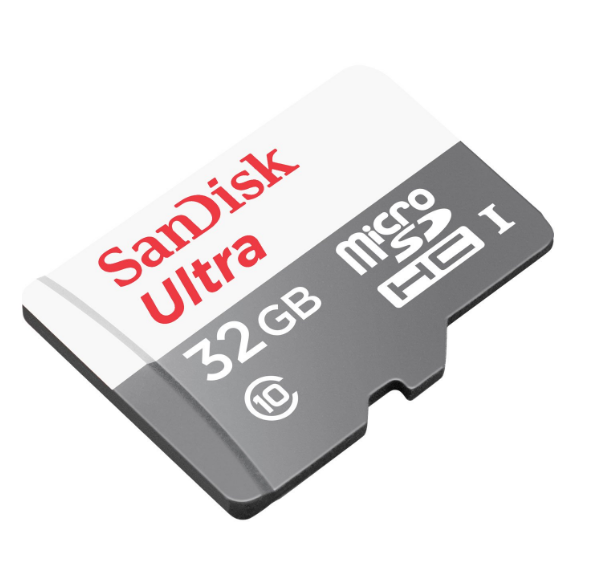
SD card (32GB or higher)
SD card (32GB or higher)
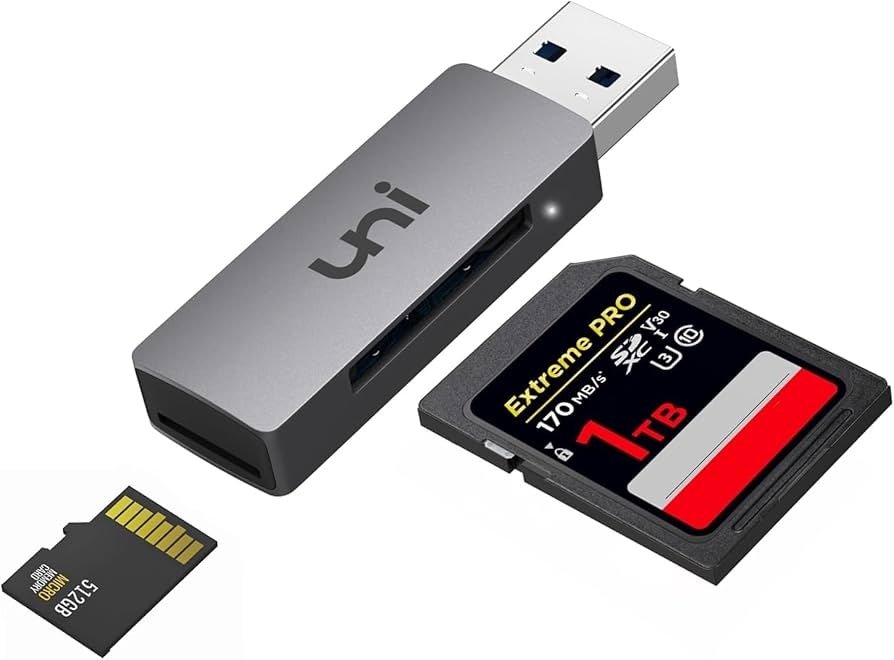
SD card reader
SD card reader
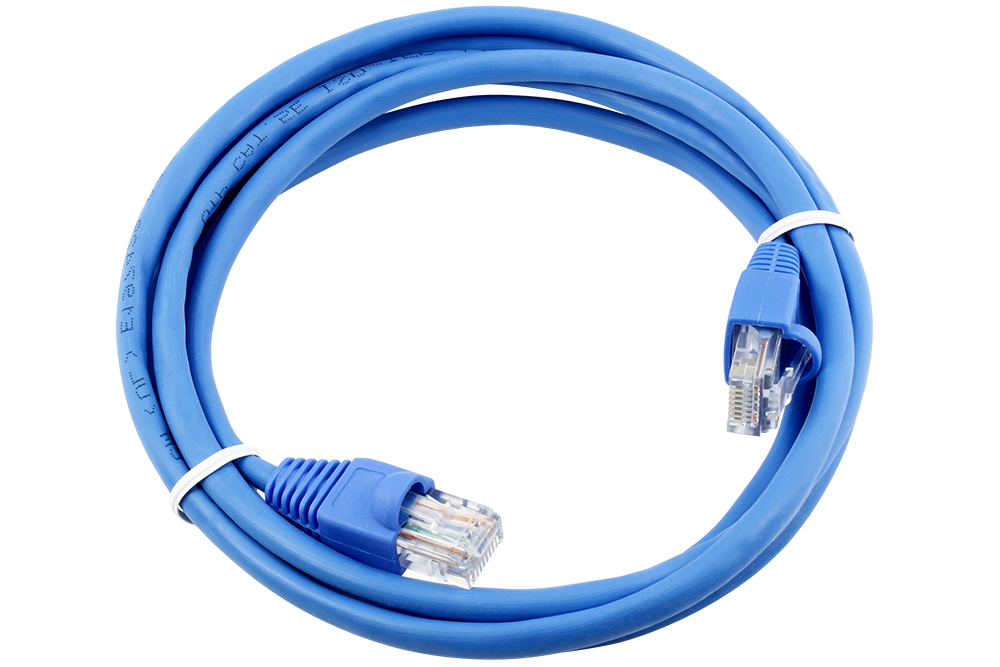
Ethernet cable (Optional)
Ethernet cable (Optional)
USB TTL converter (Optional)
USB TTL converter (Optional)
Not required initially. Used for board connection via serial port when an Ethernet cable is not available.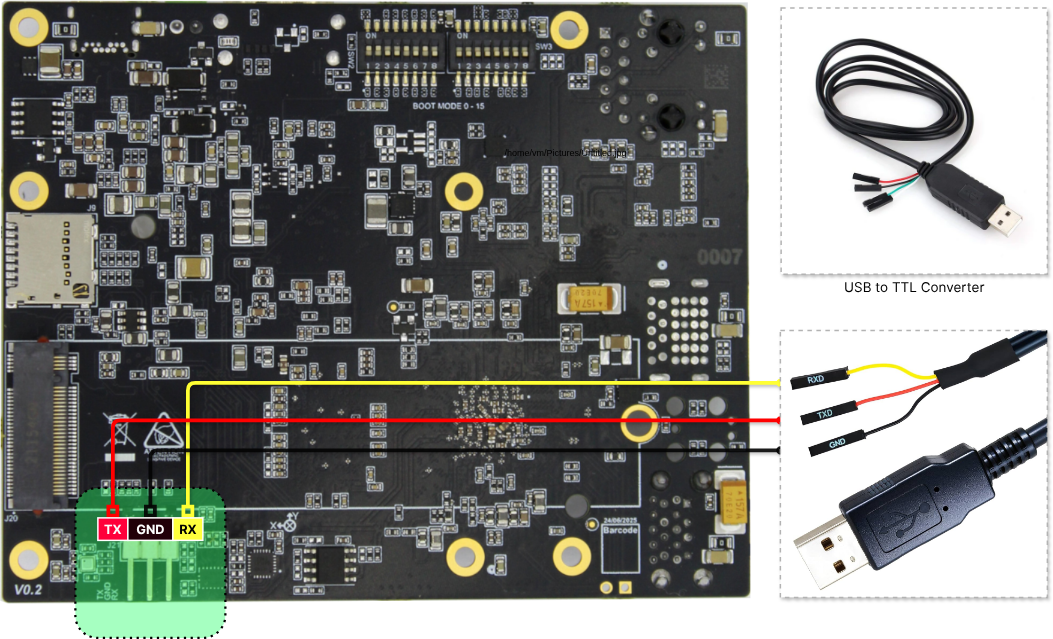
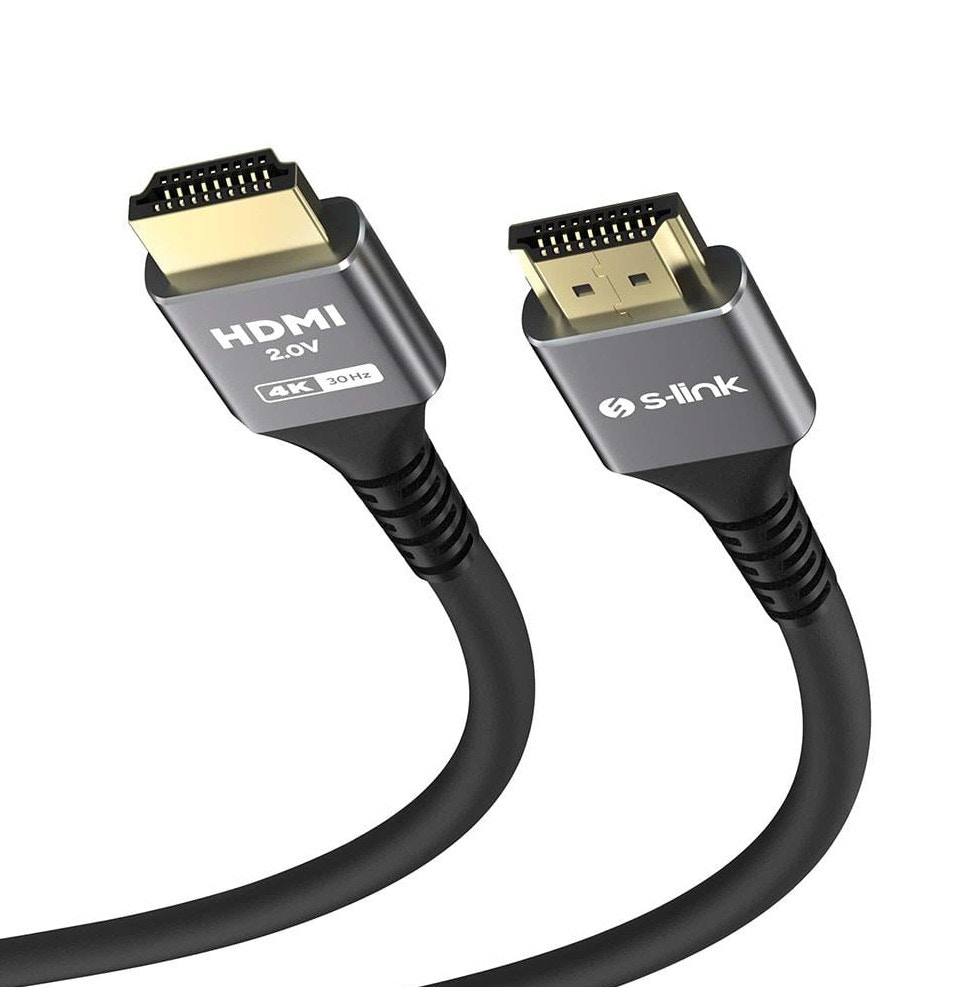
HDMI cable
HDMI cable
Monitor + Keyboard + Mouse
Monitor + Keyboard + Mouse
1. Setup
Your board will be prepared by performing the following four main steps.The term “image” generally refers to a file with the .img extension, which contains the files and drivers
of the Linux operating system—essentially everything needed for the board to function. You can download and examine
the file named “minimal” from https://packages.t3gemstone.org/images/ubuntu/jammy/t3-gem-o1.
Download the image writing application
This is the process of downloading the desktop application used to install and customize the operating system on the board.
Write the image to the development board
This is the process of installing software on the board and preparing it using the Gemstone Imager application.
Change the bootmode switch to boot the development board from the SD card
The development board can optionally be used with an
SD card or eMMC. This section shows how to make this selection.1.1. Image writing application
All core software on Gemstone, such as the Operating System, Bootloader, and Firmware, is installed using the Gemstone Image Writer (GemImager or Gemstone Imager) application. Download the appropriate application (Linux, Windows, or macOS) for your computer from https://www.t3gemstone.org/software.
Throughout the documentation, the terms Gemstone Imager and Gemstone Image Writer will be used for the
image/operating system writing application.
1.2. Image writing process
1.2.1. Connect the SD card and reader to the computer
The package does not include an SD card. Connect any brand and model of SD card with at least 32 GB capacity to your computer using a suitable card reader, then launch the Gemstone Imager application.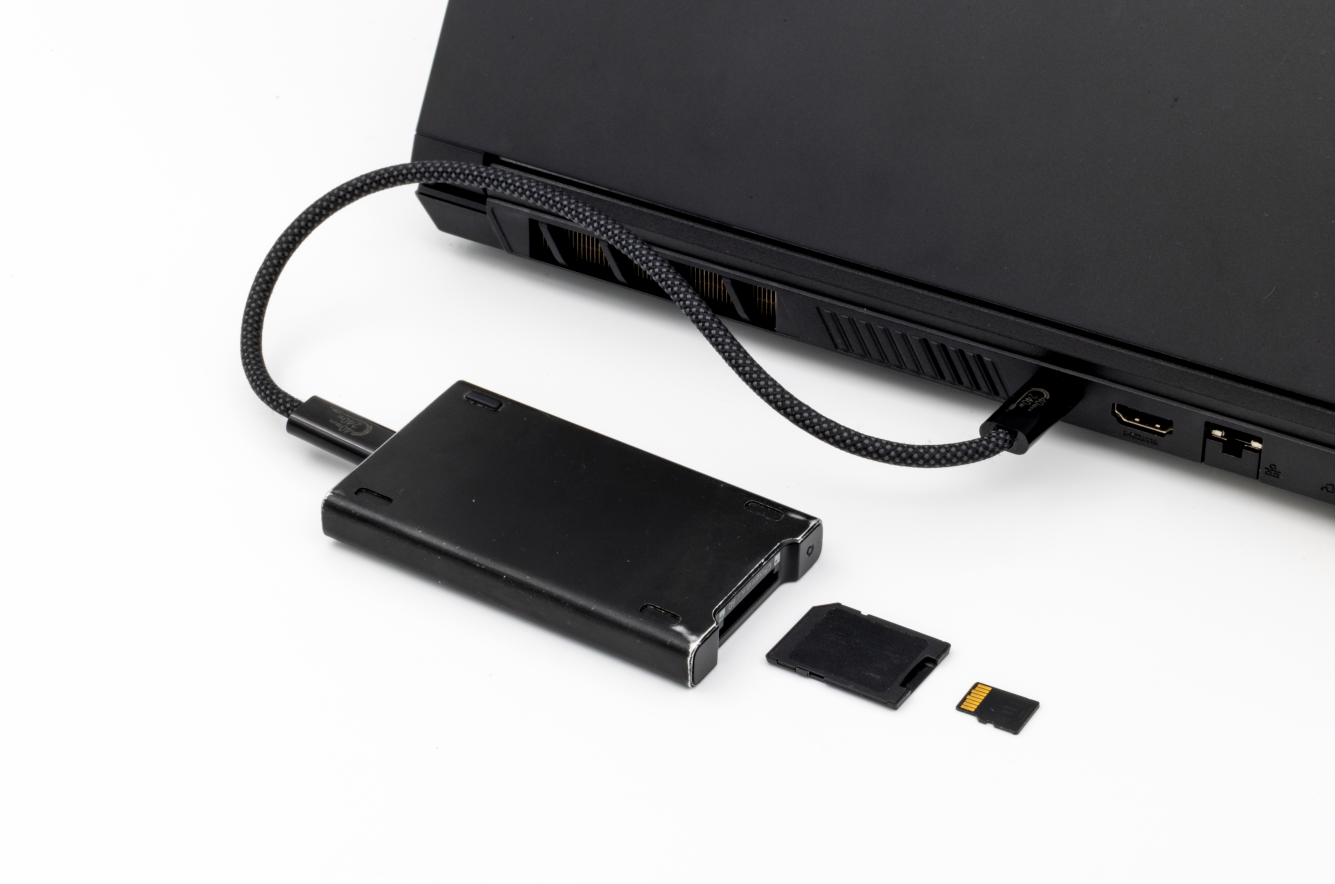
1.2.2. Launch the Gemstone Imager application
- Linux
- Windows
- macOS
After downloading the .AppImage file for the Linux operating system, right-click to open the Properties
screen and check the “Allow executing file as program” option under the Permissions section to make
the application executable.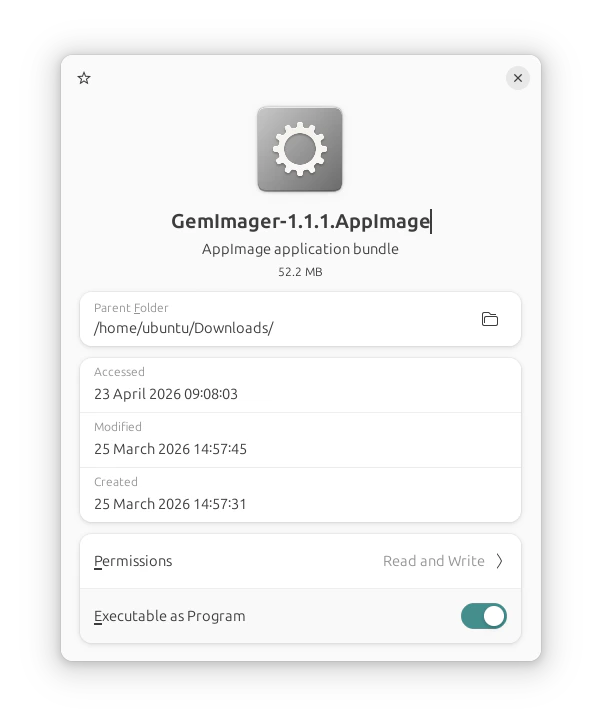
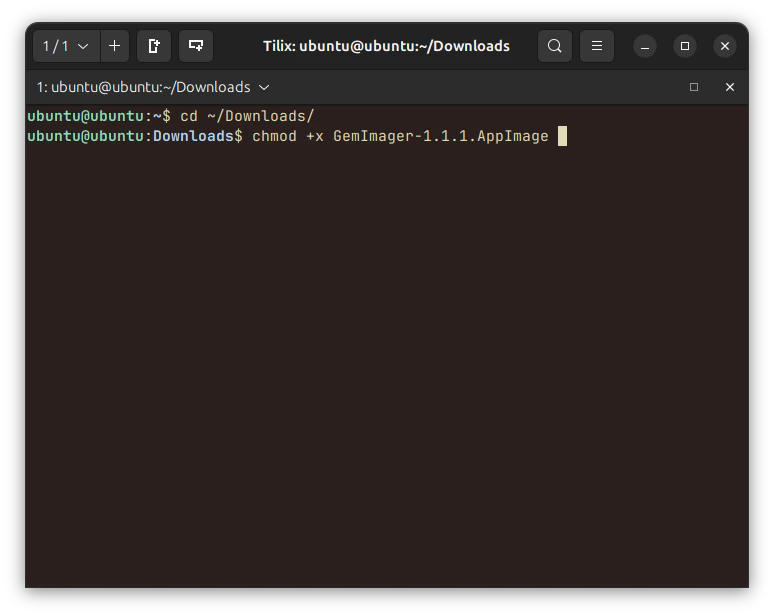
chmod +x GemImager-1.1.1.AppImage to make it executable.When you launch the application from the downloaded file path, you will see the following screen.
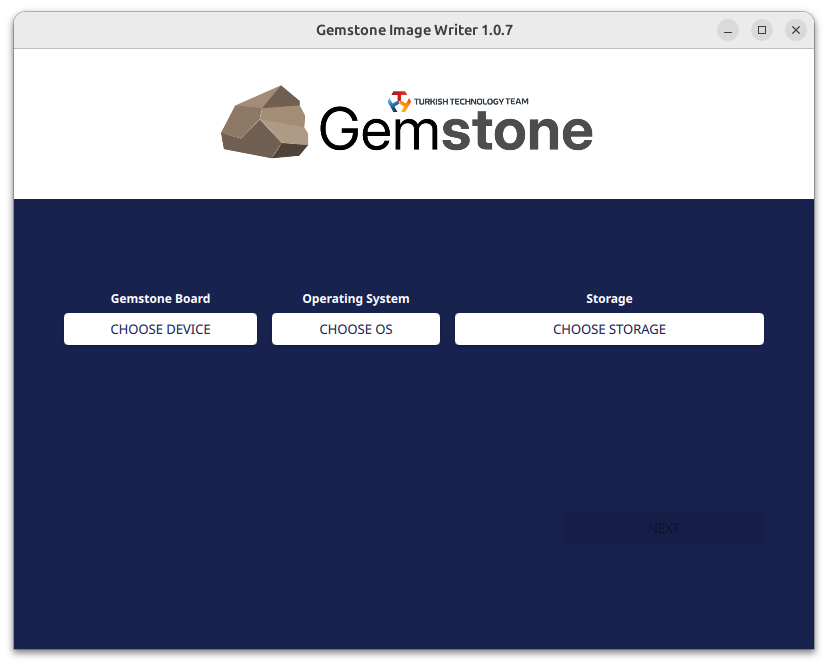
1.2.3. Select the development board
Click the “Gemstone board / Choose Device” button to select the development board you own.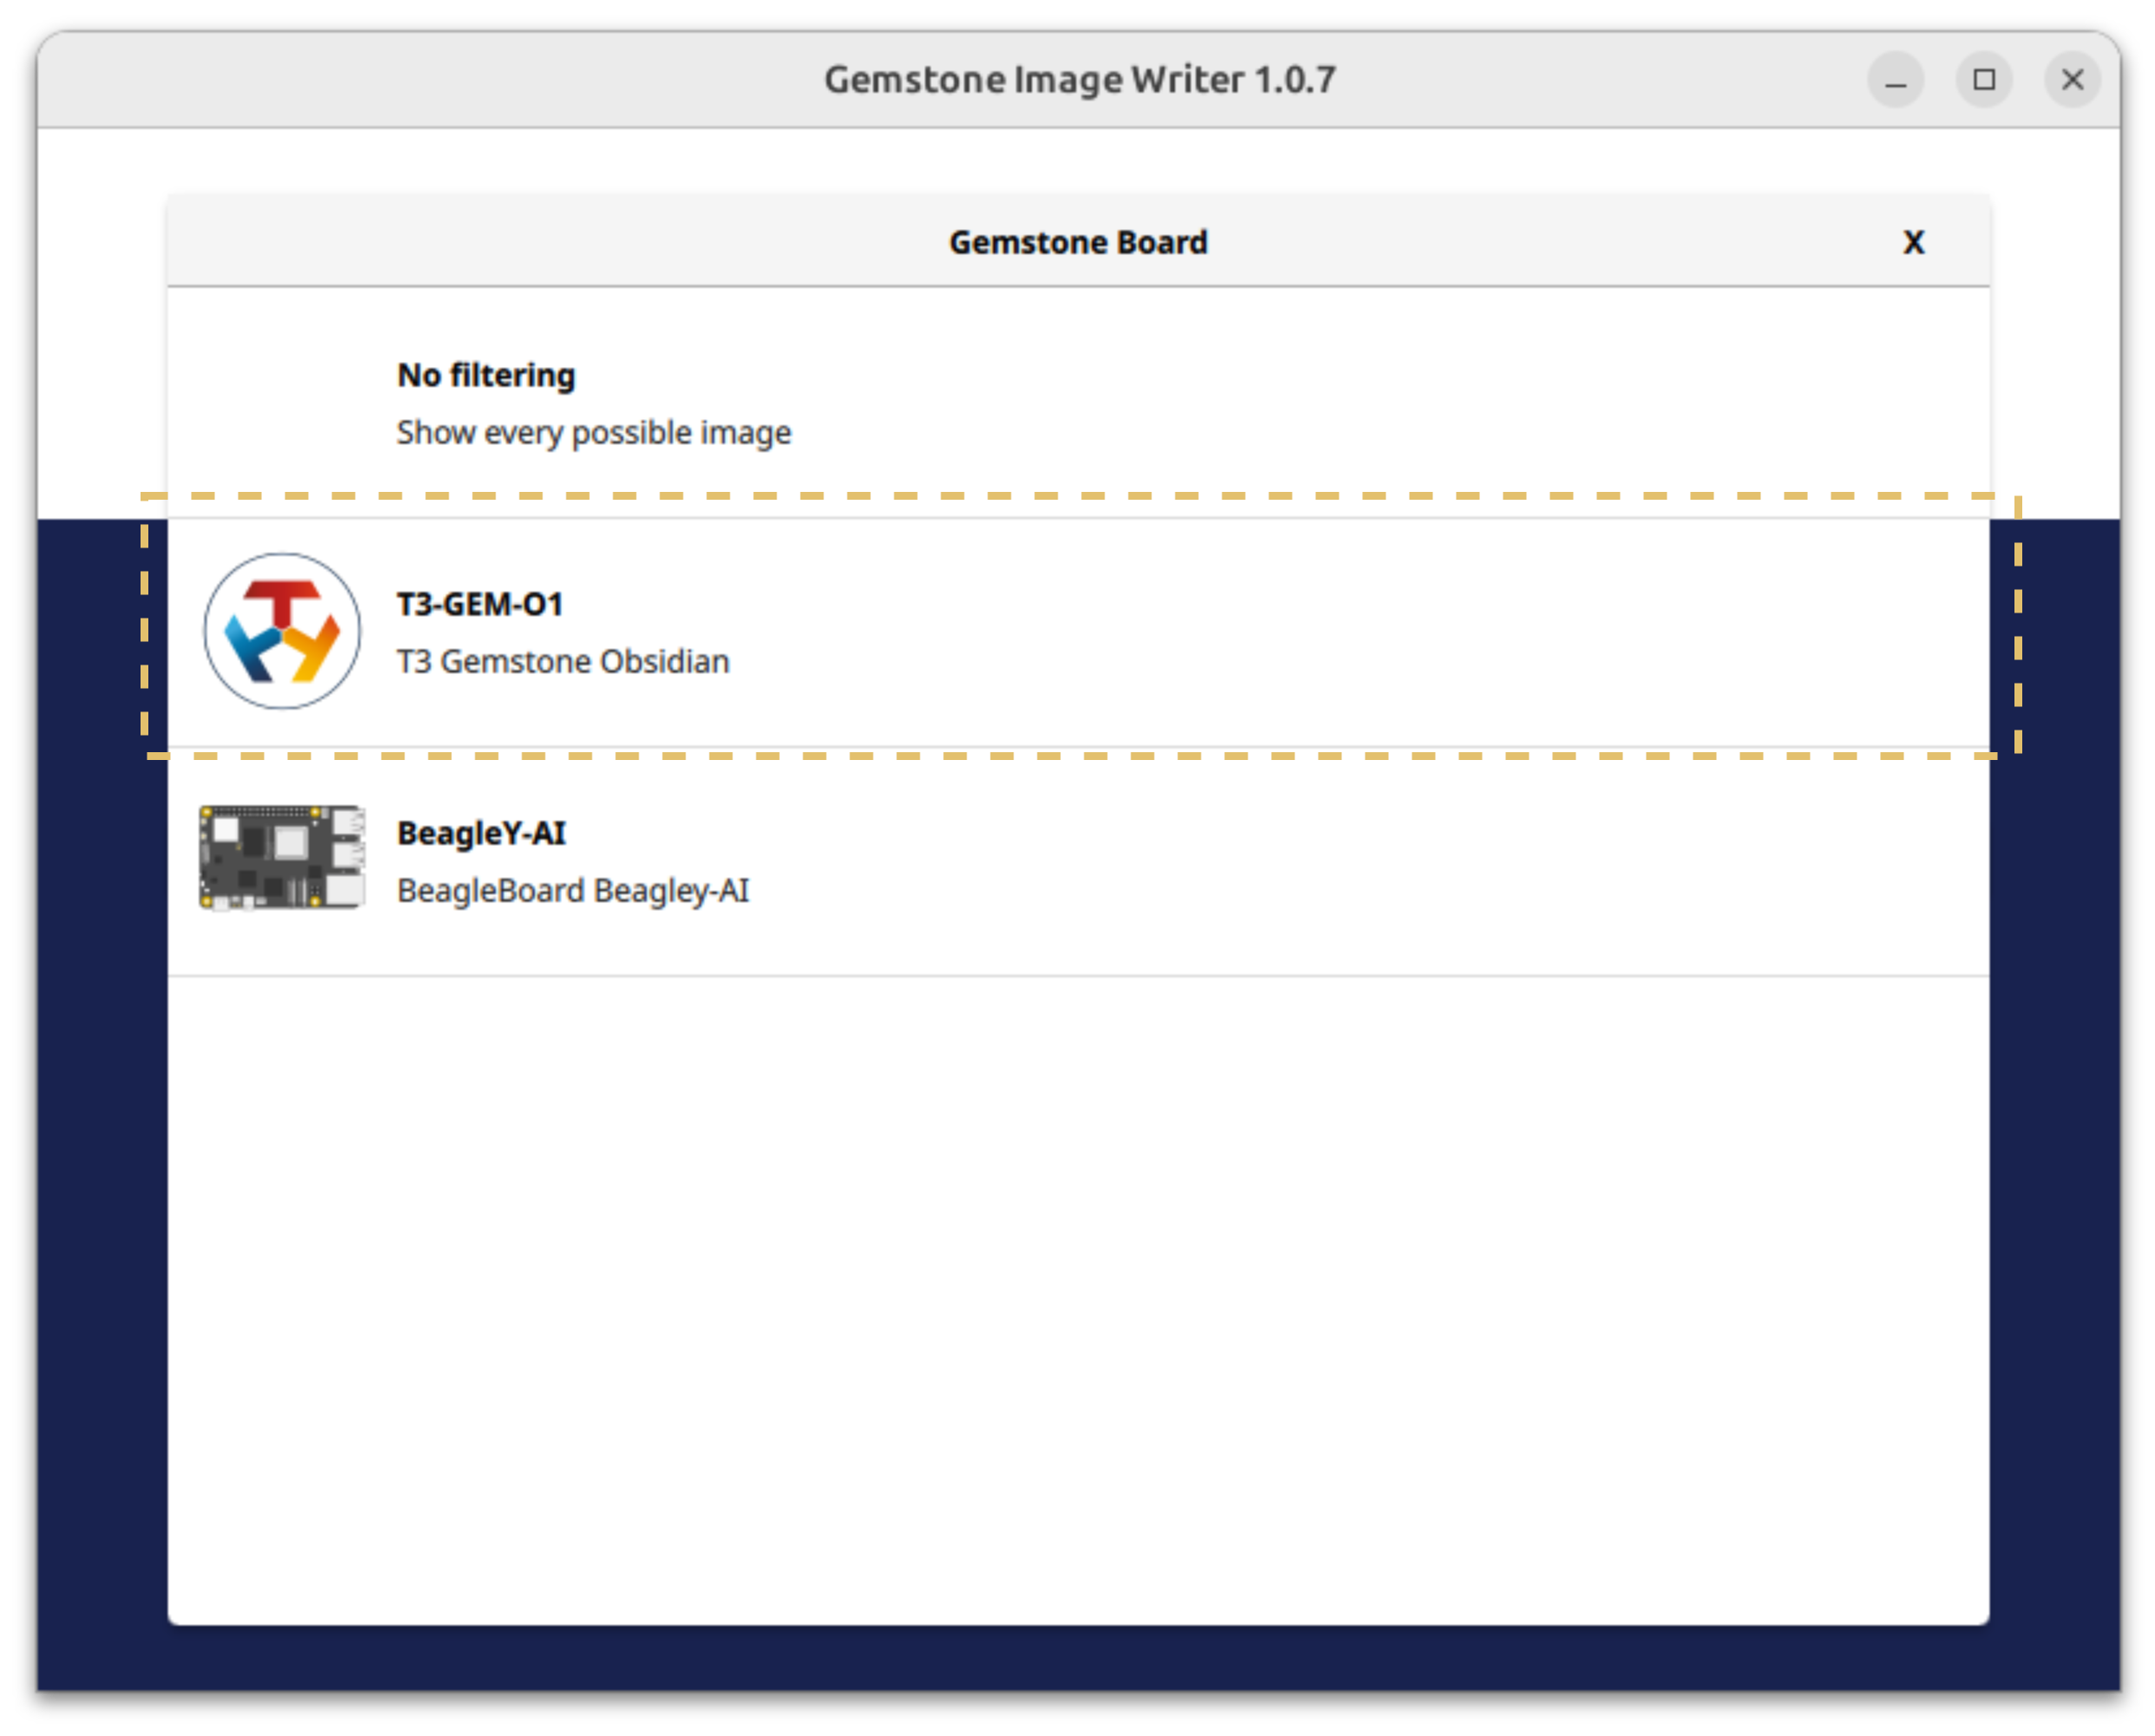
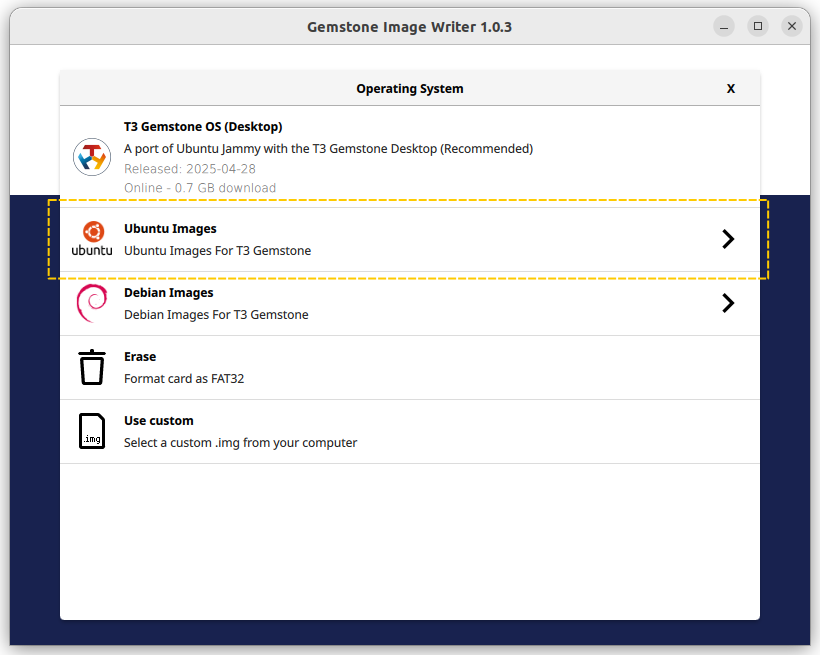
1.2.4. Select the operating system to install on the board
After selecting the development board (Gemstone board / Choose Device), click the Operating System / Choose OS button for the next step.- Default Operating System
- Other Operating System Options
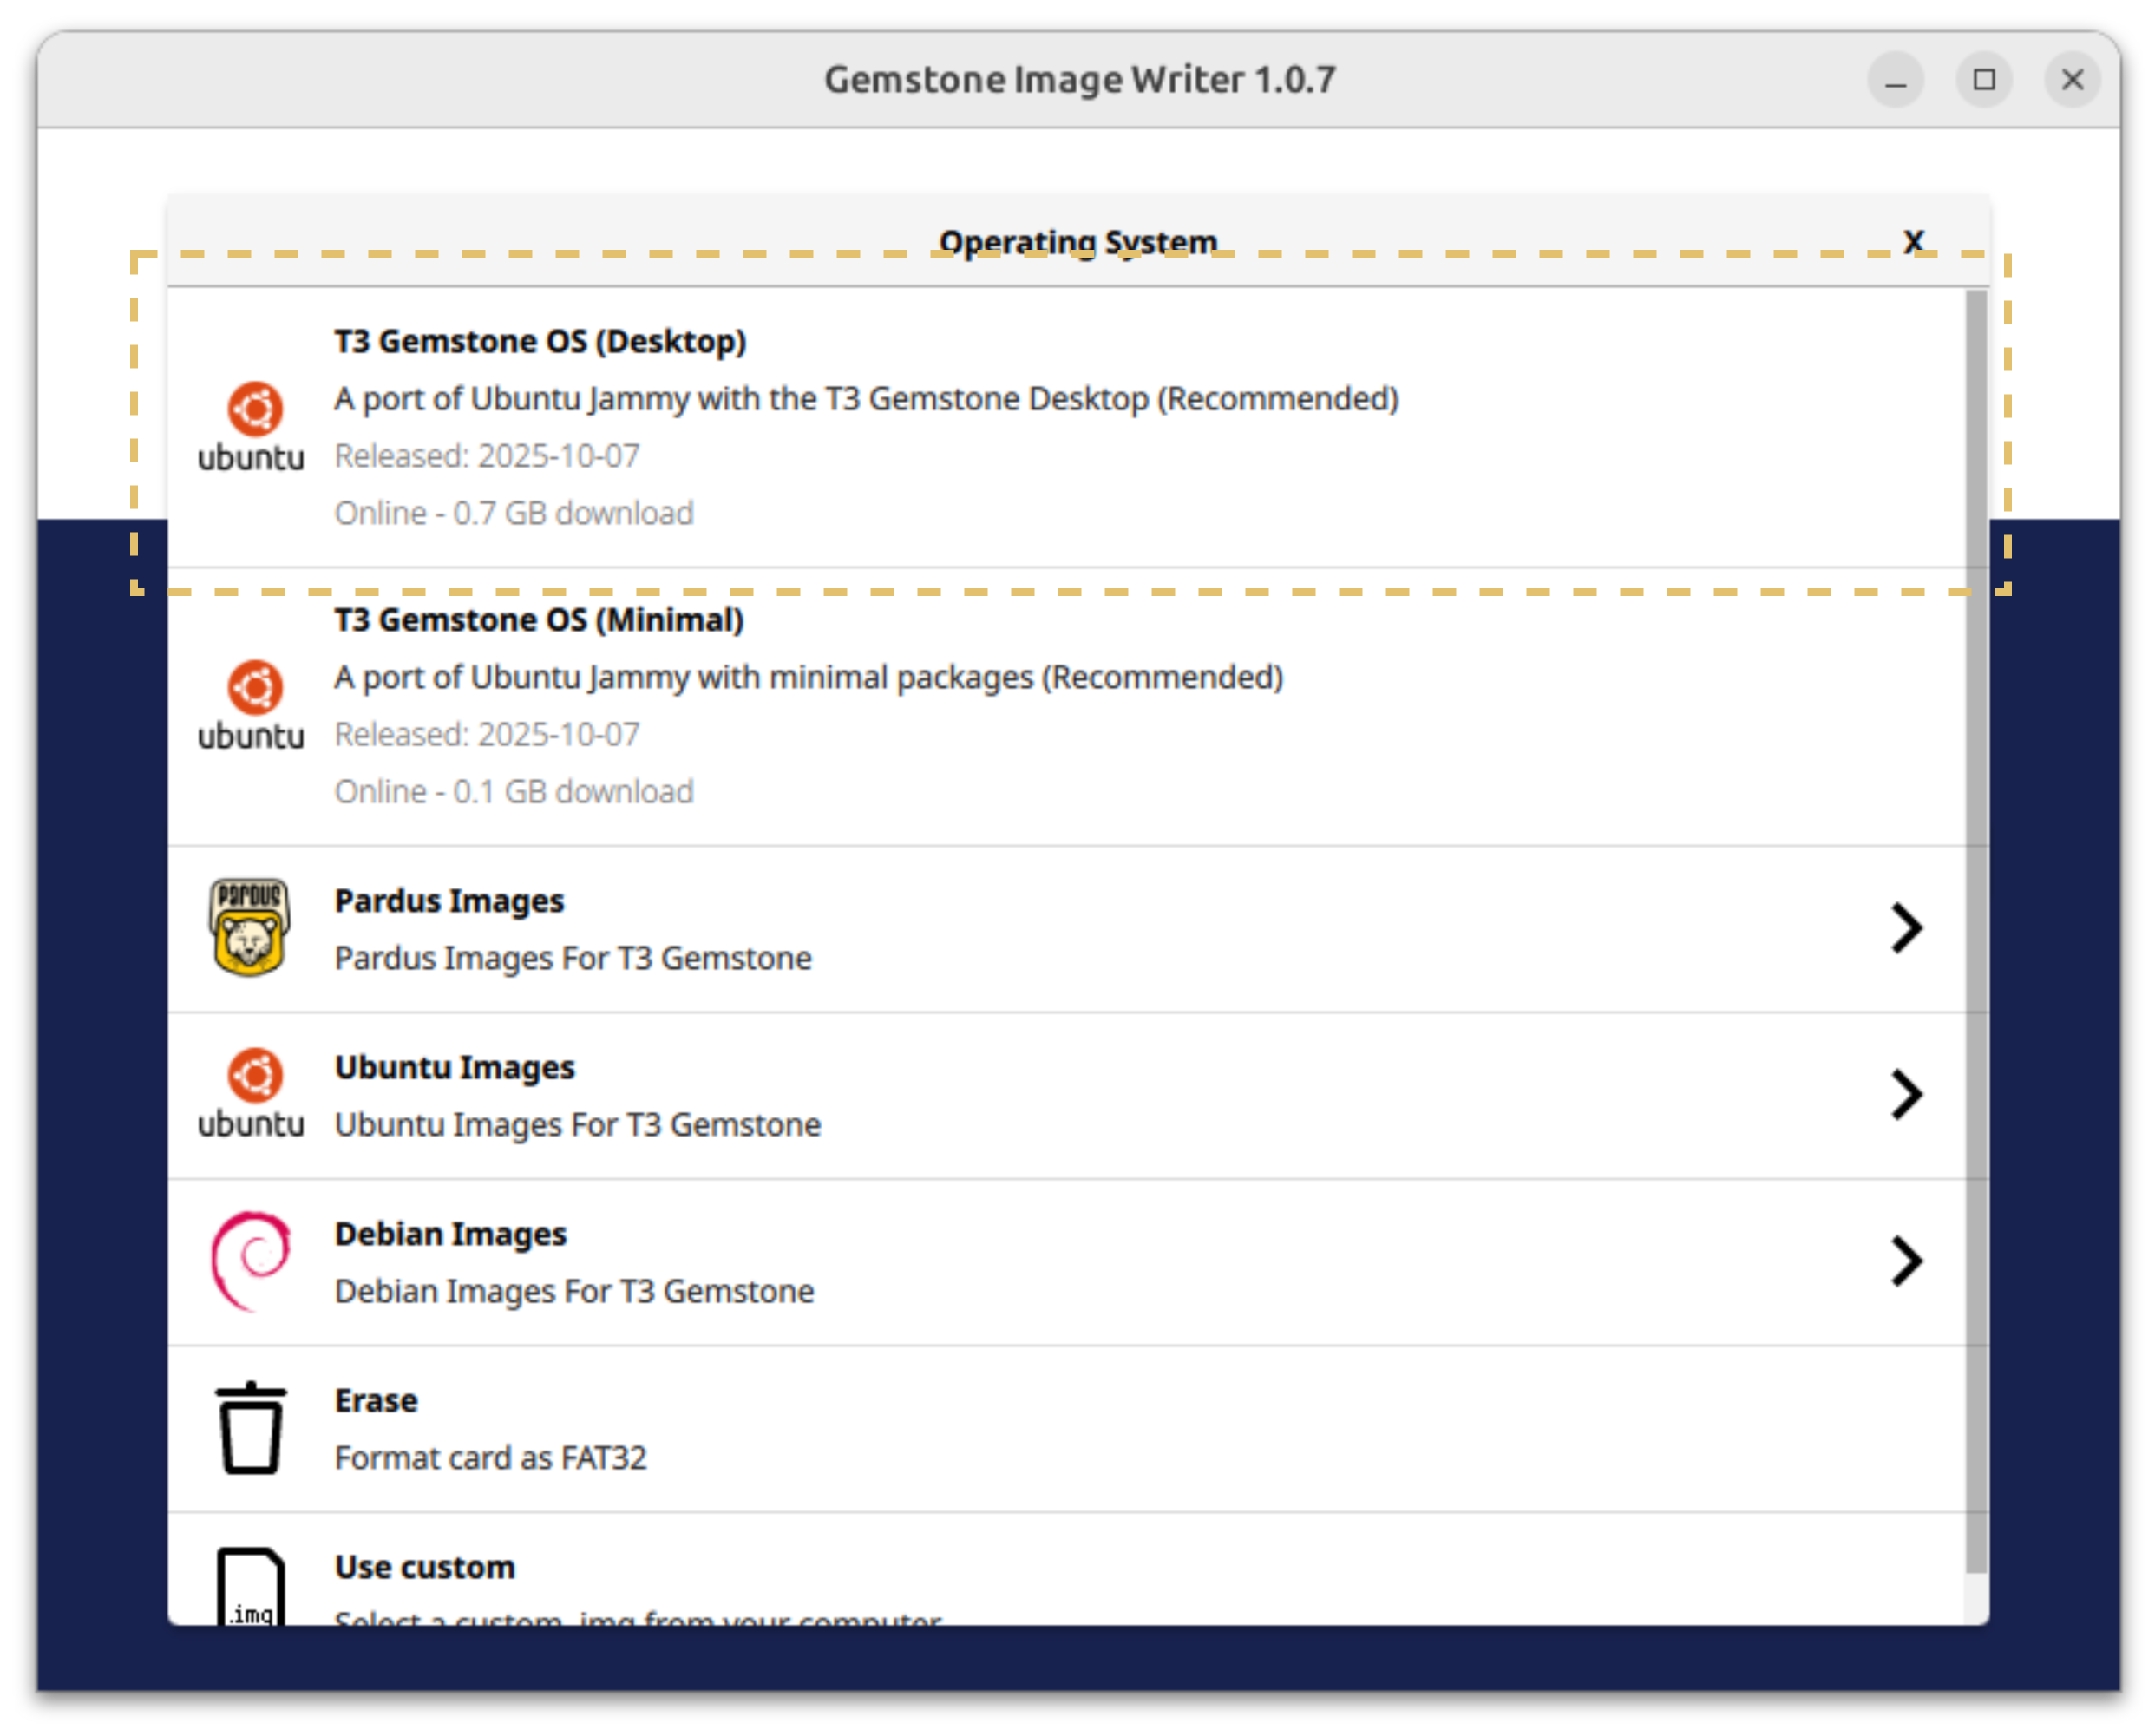
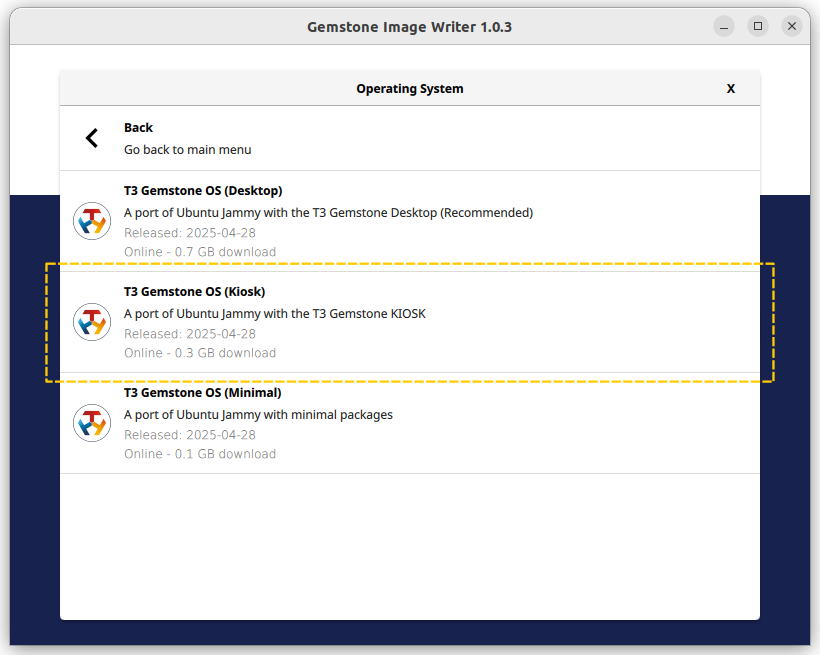
- Desktop: An image that includes software such as a browser (Firefox), text editor, code development environment (VSCode), and video player (VLC), allowing the board to be used as a computer. This image is larger than the other two types and is mostly used for prototyping, testing, and development activities. (For robotics work, the Minimal image is more suitable.)
- Kiosk: An image that supports a graphical interface, often used for touch panels, without applications (Example: The Text Editor or File Manager) found in the Desktop image. (For example, the touch panel used for media control in Tesla vehicles or the control screen inside passenger vehicles in Teknofest competitions.)
- Minimal: This image contains a real-time Linux kernel and is optimized for IoT, robotics, and autopilot applications. It is a powerful and deterministic structure suitable for embedded software system development projects.
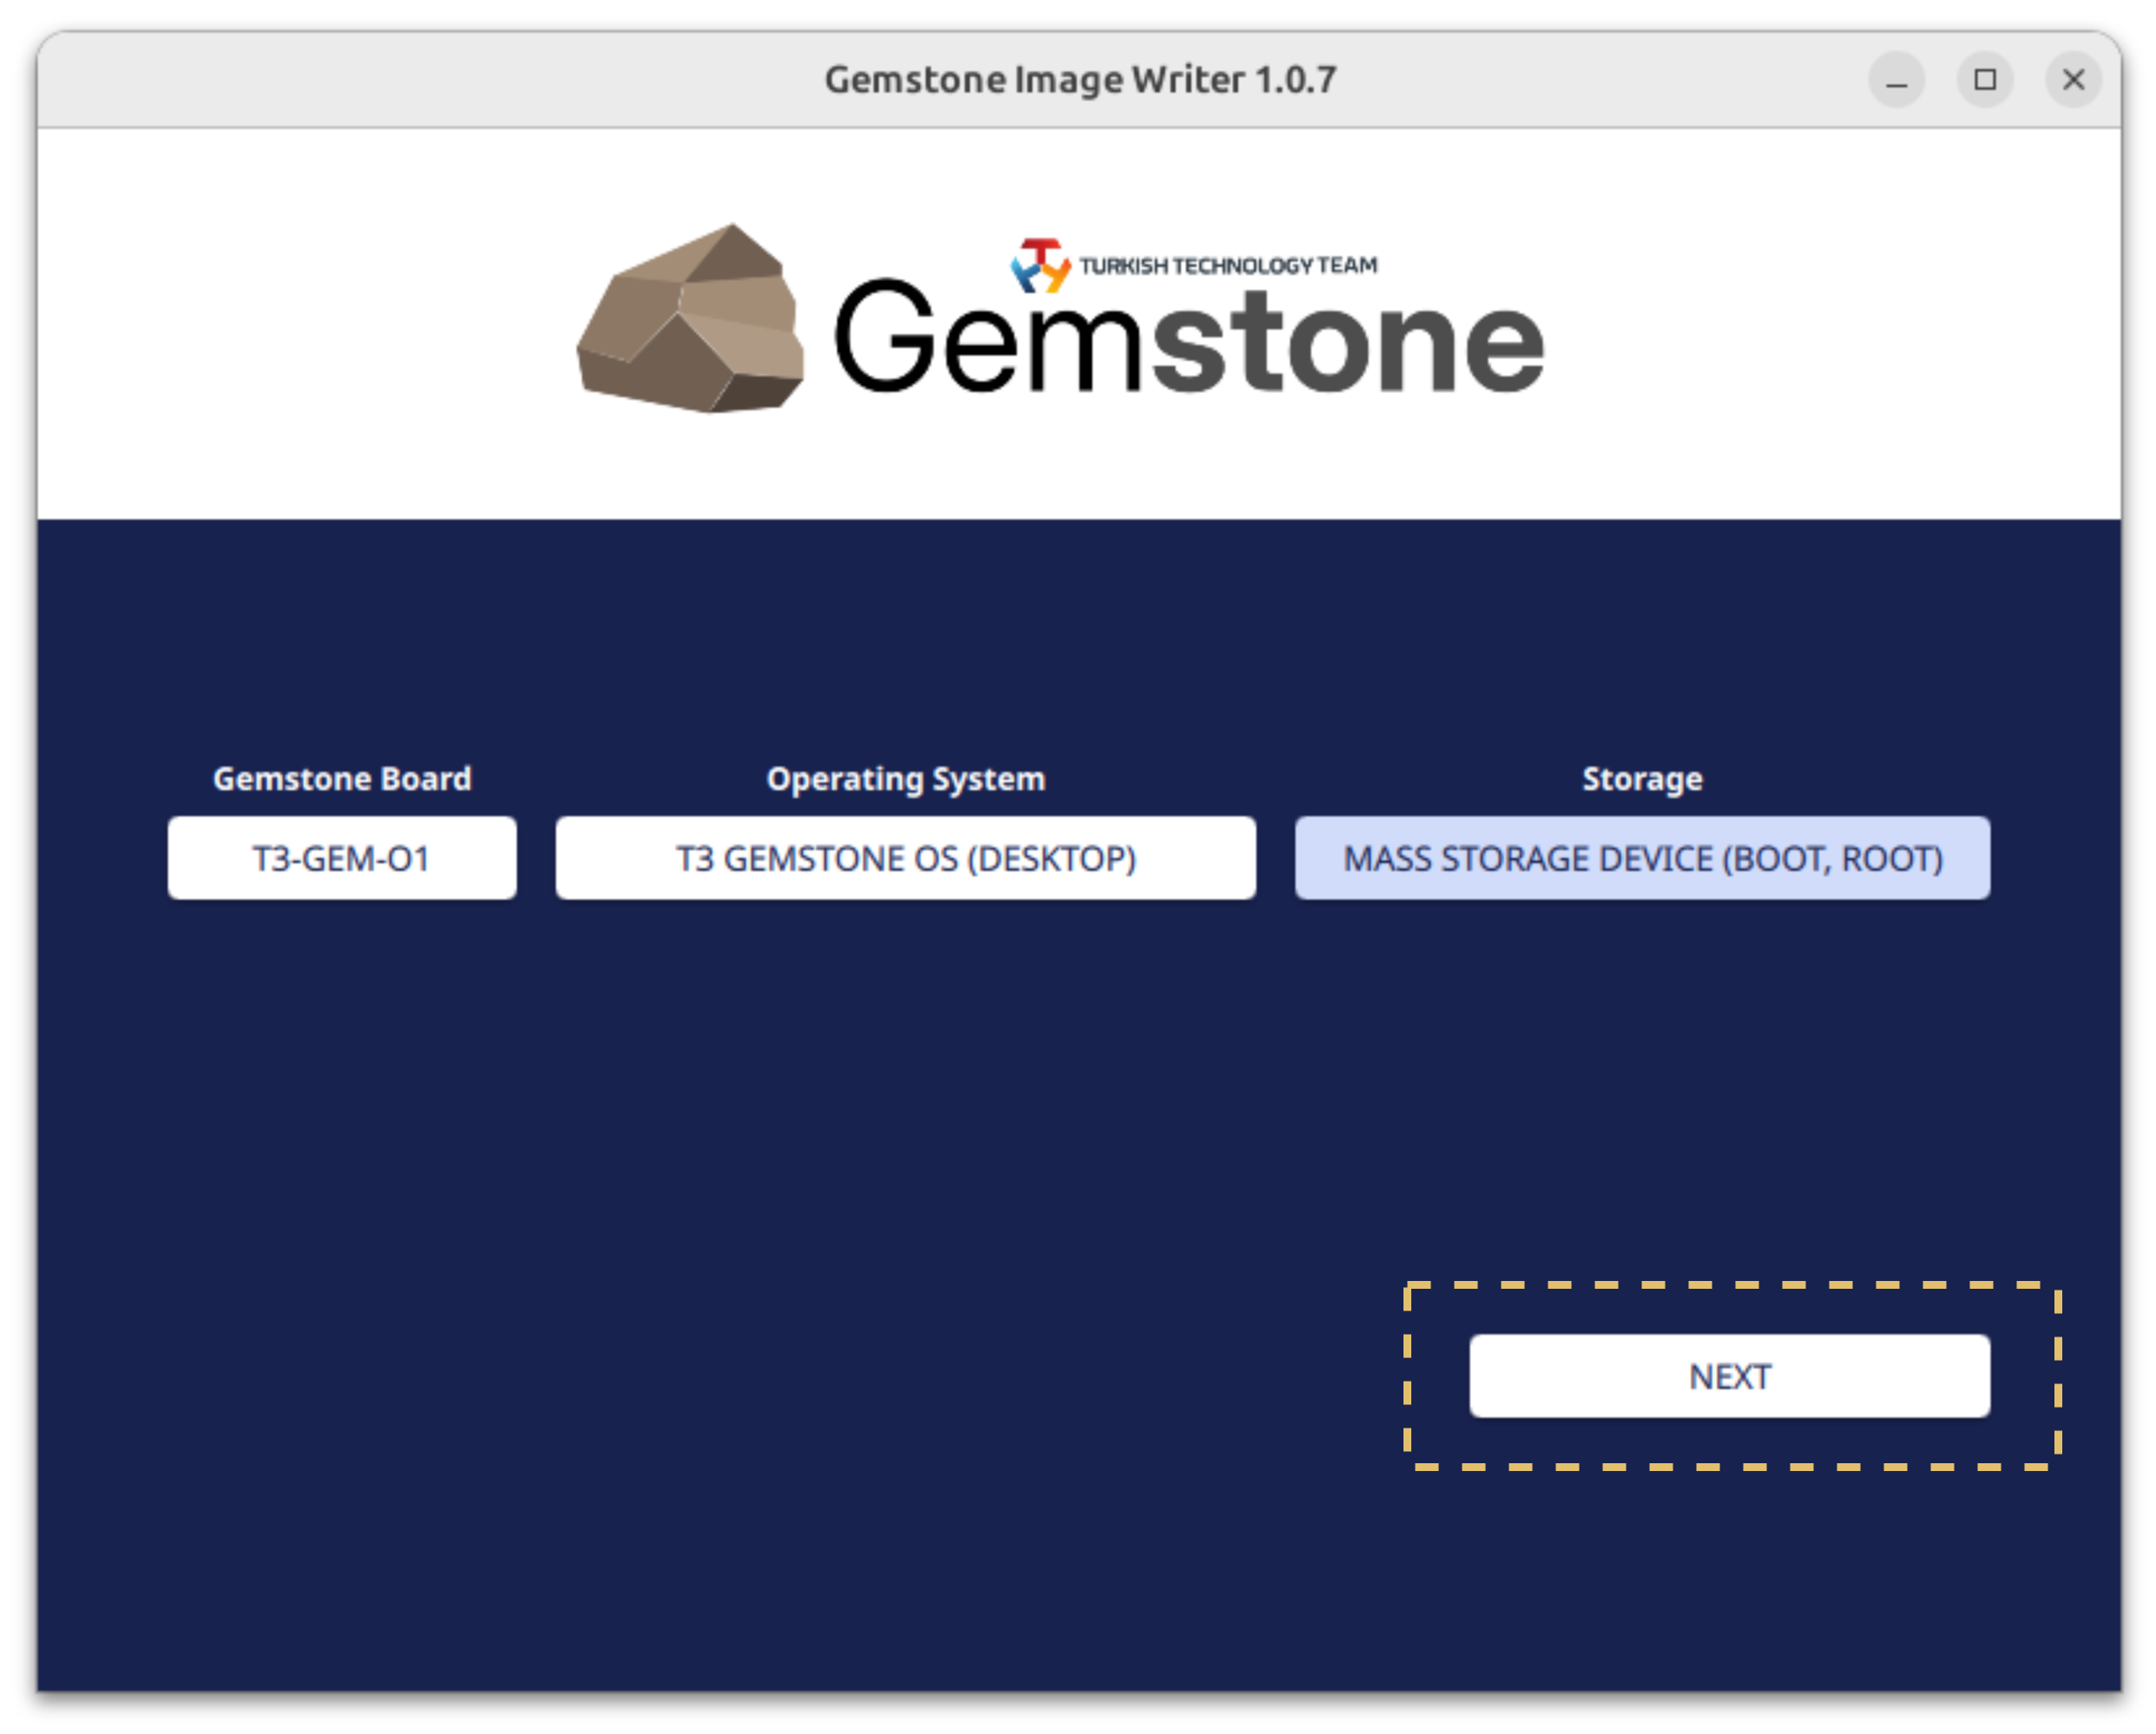
1.2.5. Select the storage device (SD card/eMMC)
After connecting your SD card and reader to your computer, the Gemstone Imager application will list the relevant device as shown in the screenshot below.
1.2.6. Customize the system
After completing the above selections, the System Customization screen will automatically open. This screen is used to set the board’s login password and enable certain services to start automatically.General Settings
General Settings
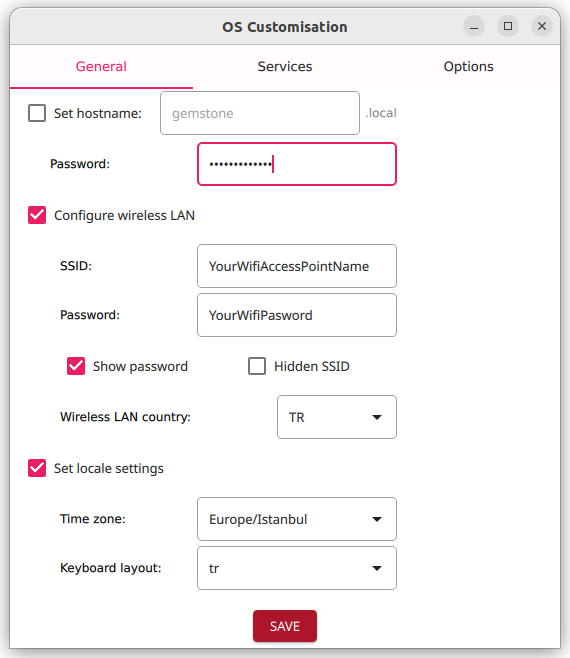
- Enter an 8-character password in the Password field on the screen. This password is for the “gemstone” user account in the Linux operating system and will be required when accessing the board.
- If you want the board to connect to a Wi-Fi network after completing the image writing process and powering it on, check the “Configure wireless LAN” option and enter the Wi-Fi network name and password.
- Finally, check the Set locale settings option and select the keyboard language for the Gemstone board.
Services
Services
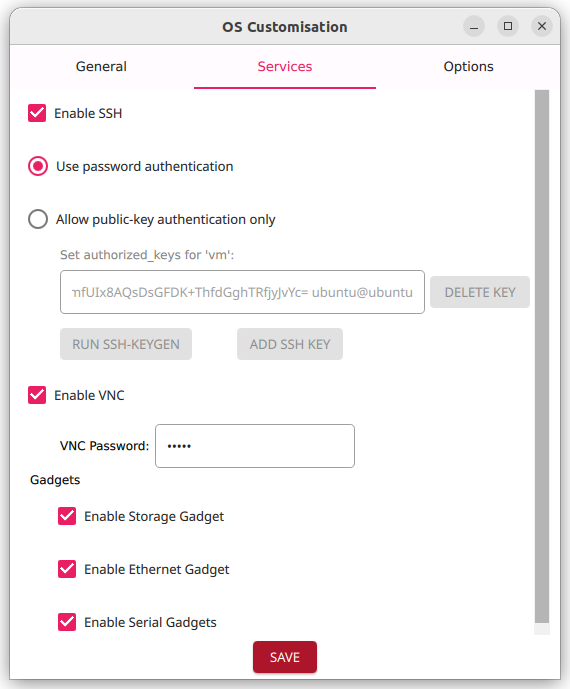
- Enable SSH: (Secure Shell) This option is required for Terminal connection to the board via Ethernet, as explained later in this section. For images like Minimal and Kiosk, which lack desktop components, Ethernet/SSH or Serial Port/Console is often used.
- Enable VNC: When using Desktop-type images, t3-gem-vnc allows you to eliminate the need for a monitor, keyboard, and mouse. This service enables you to connect to the board’s desktop via a browser by connecting the board’s Ethernet cable to your computer.
- Gadgets: When you connect your Gemstone board to your computer via USB Type-C, this feature allows the board to obtain a virtual IP without needing an Ethernet cable, create a serial port, and use the board’s disk as storage (similar to connecting a phone to your computer).
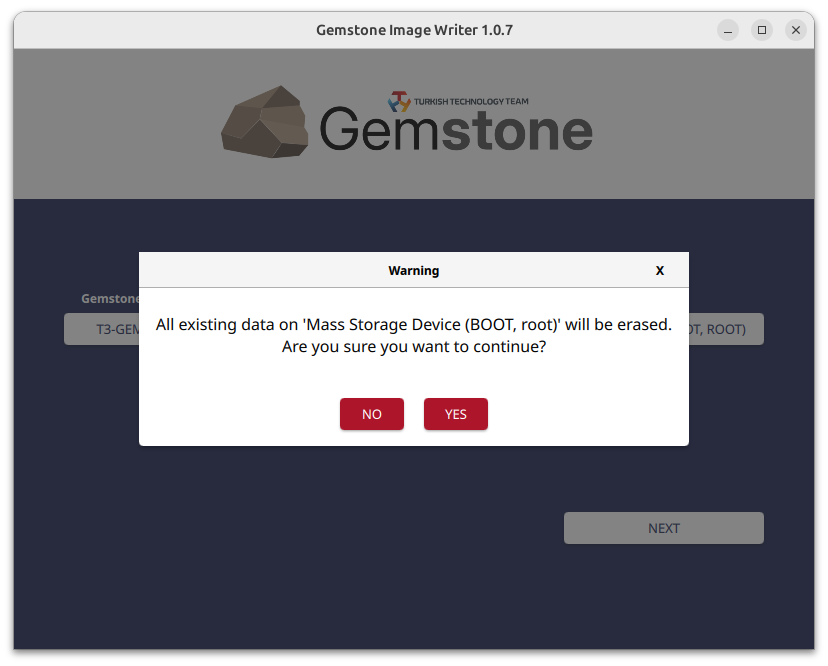
1.2.7. Start the writing process
After completing all the above steps, you will be asked to confirm before starting the image writing process, and the copying process will begin.Start the writing process
Start the writing process
Wait for the writing process to complete
Wait for the writing process to complete

Process completed, remove the SD card
Process completed, remove the SD card

1.2.8. Insert the SD card
After the writing process is successfully completed, remove the SD card from the reader and insert it into the Gemstone. Then, set the Bootmode pins to “SD card” as explained in the next section.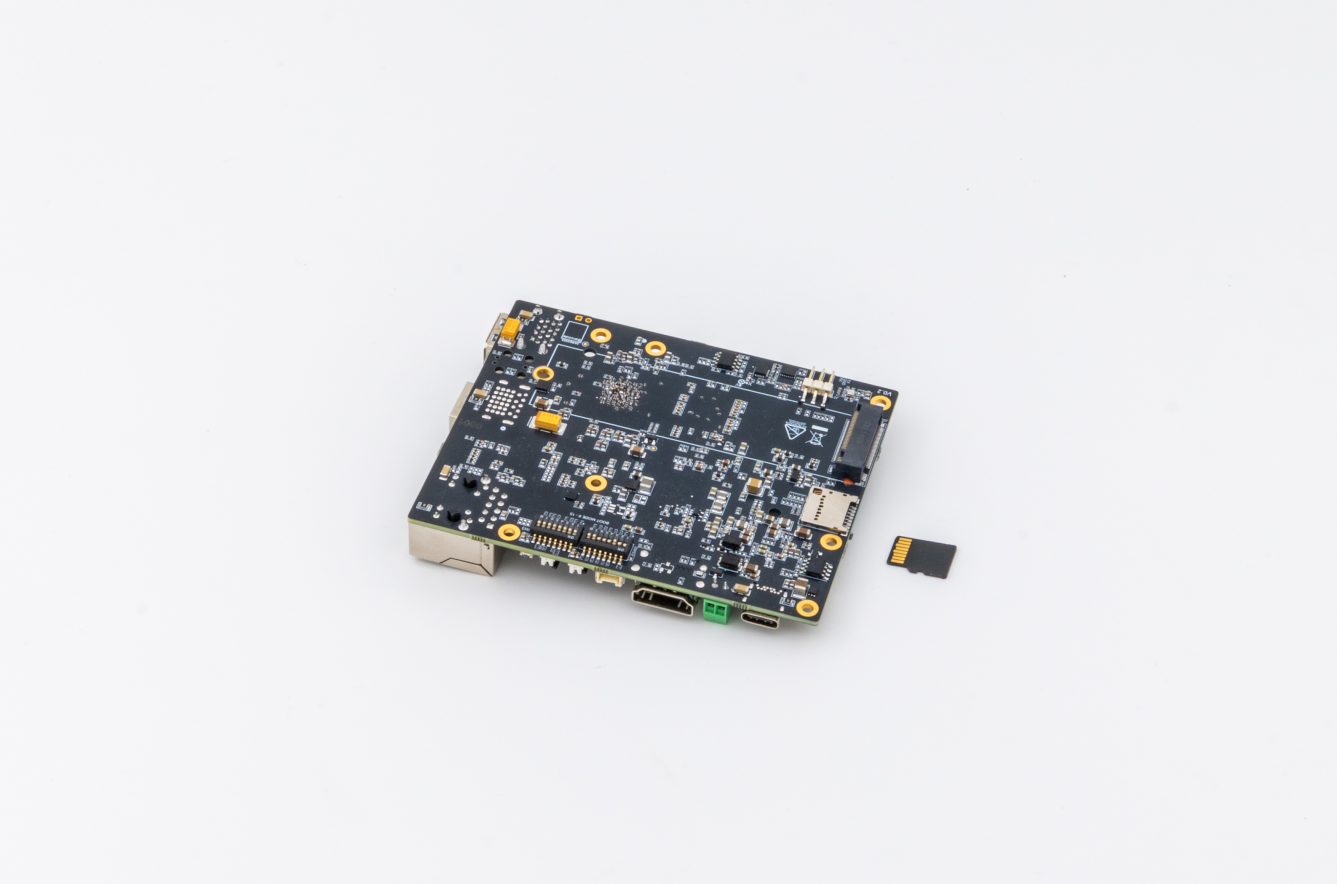
1.3. Bootmode Switch
is used to determine how and where (from which disk) the system will boot when power is first applied to the board, or for purposes such as during software development. The table and screenshot below list all the Boot modes available on the Gemstone O1 development board. This section explains the installation process for the SD card, while the use of eMMC (embedded disk on the board) will be discussed in later sections. The SD card is often preferred for quick testing and development activities due to its convenience, but data loss can occur in systems with vibration. If you plan to use the board on a moving platform, eMMC is more suitable.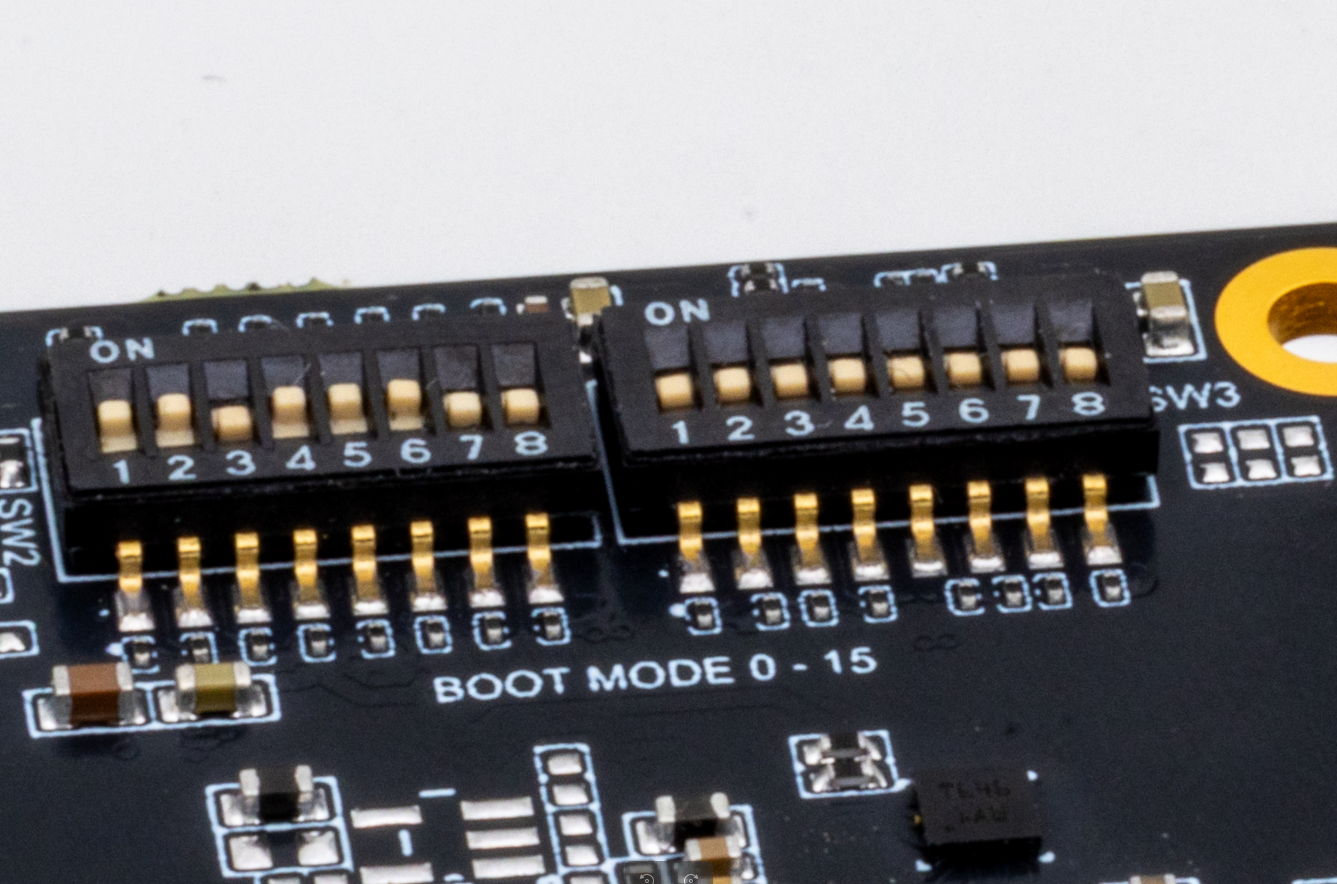
| Boot mode | |
|---|---|
| SD card |  |
| eMMC |  |
| USB DFU |  |
| Ethernet |  |
| UART |  |
| Devboot |  |
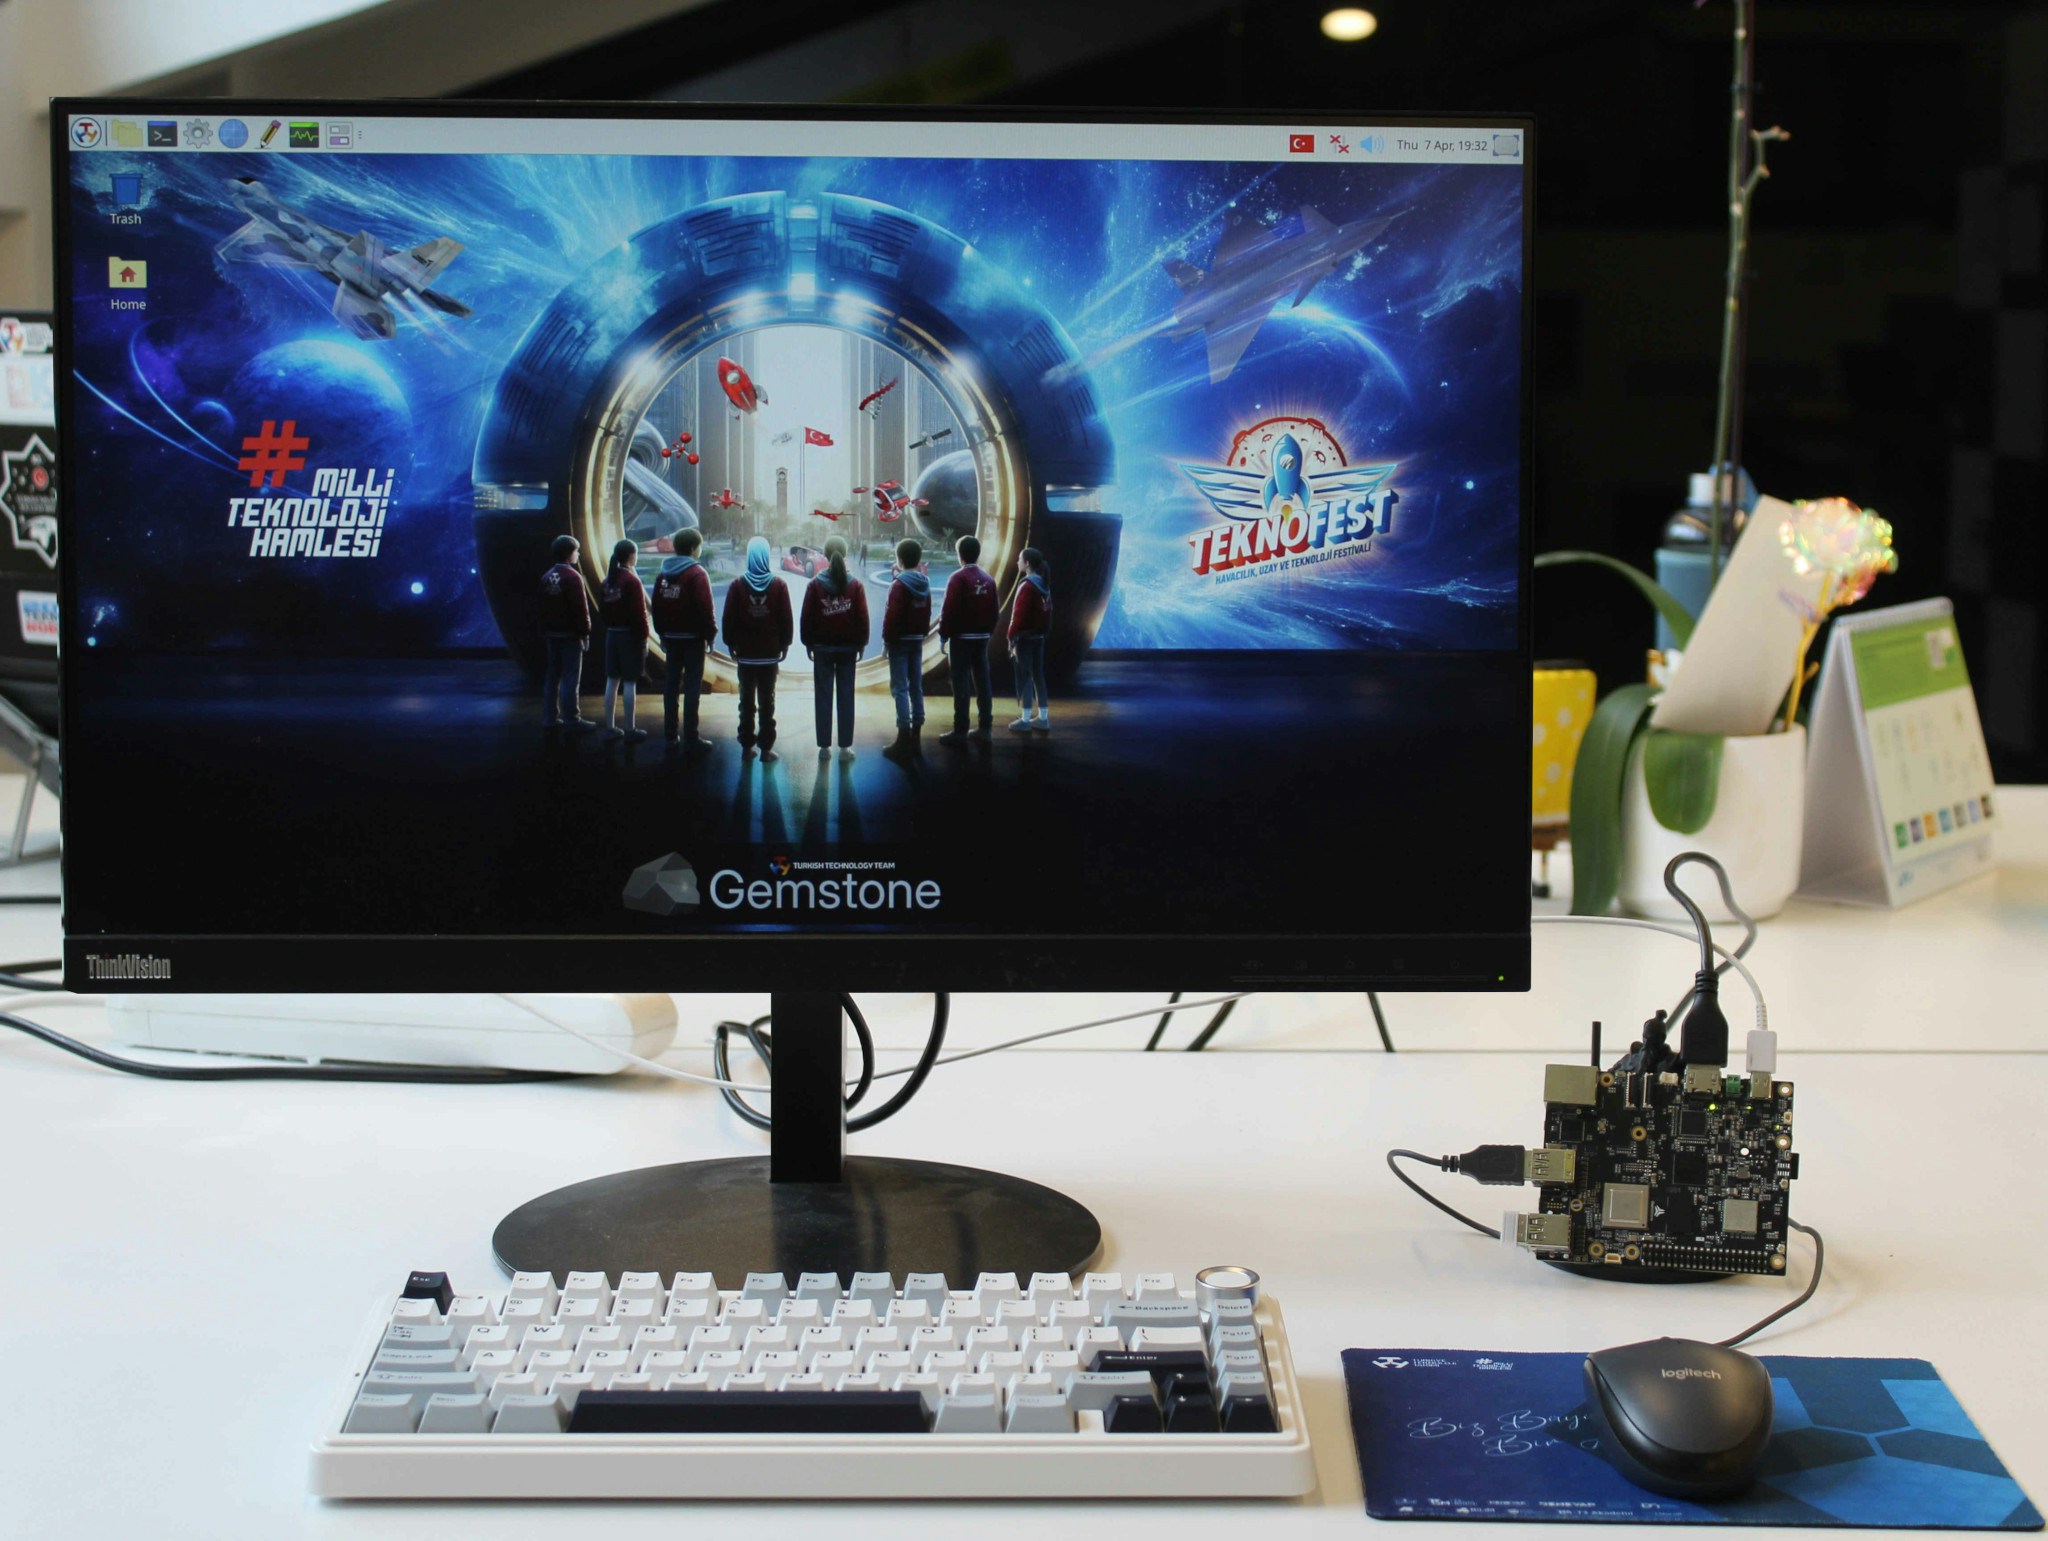
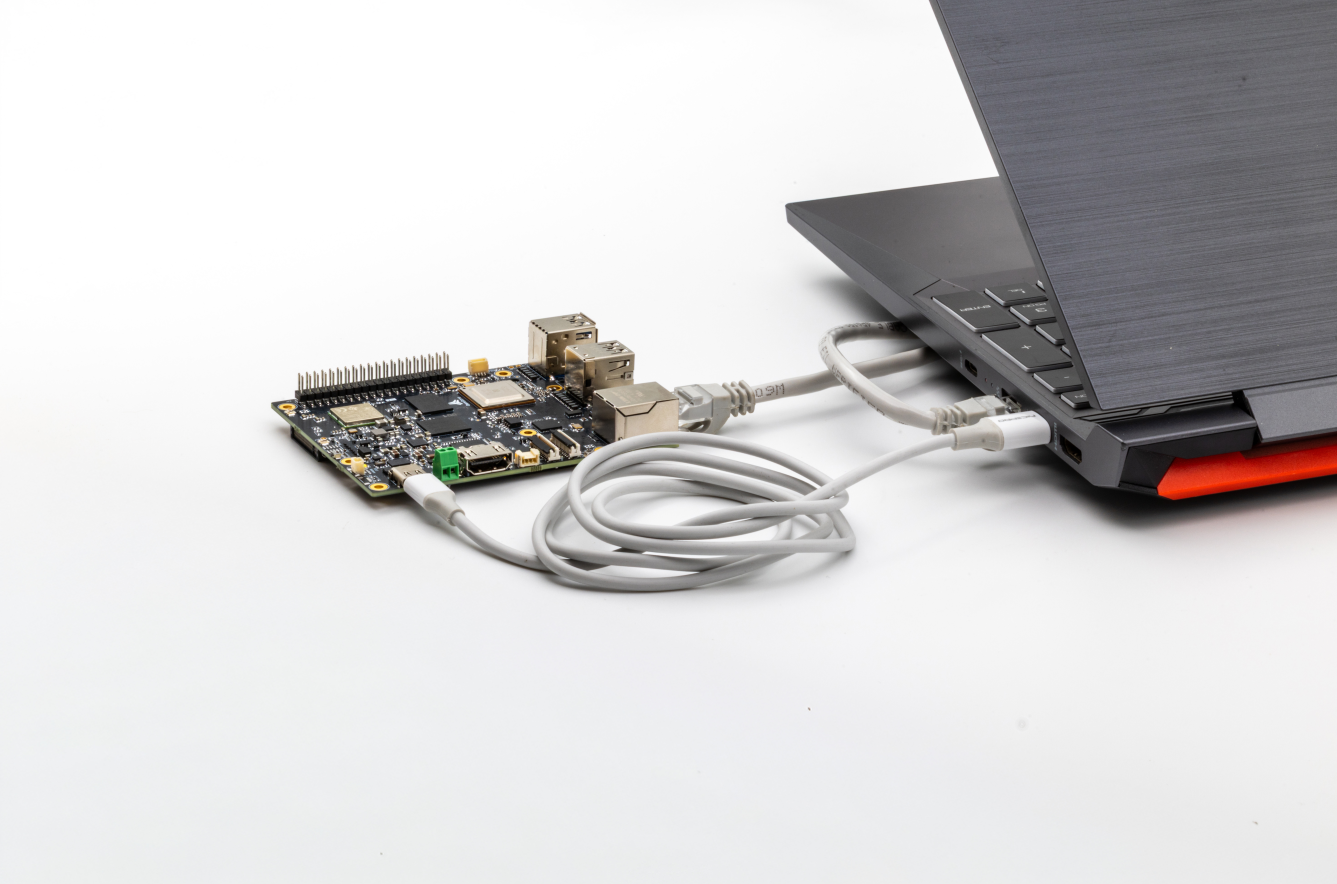
1.4. Connect the board to the computer
After connecting the USB Type-C and Ethernet cables from the package to your computer and the development board as shown in the photo below, you are ready to explore the board!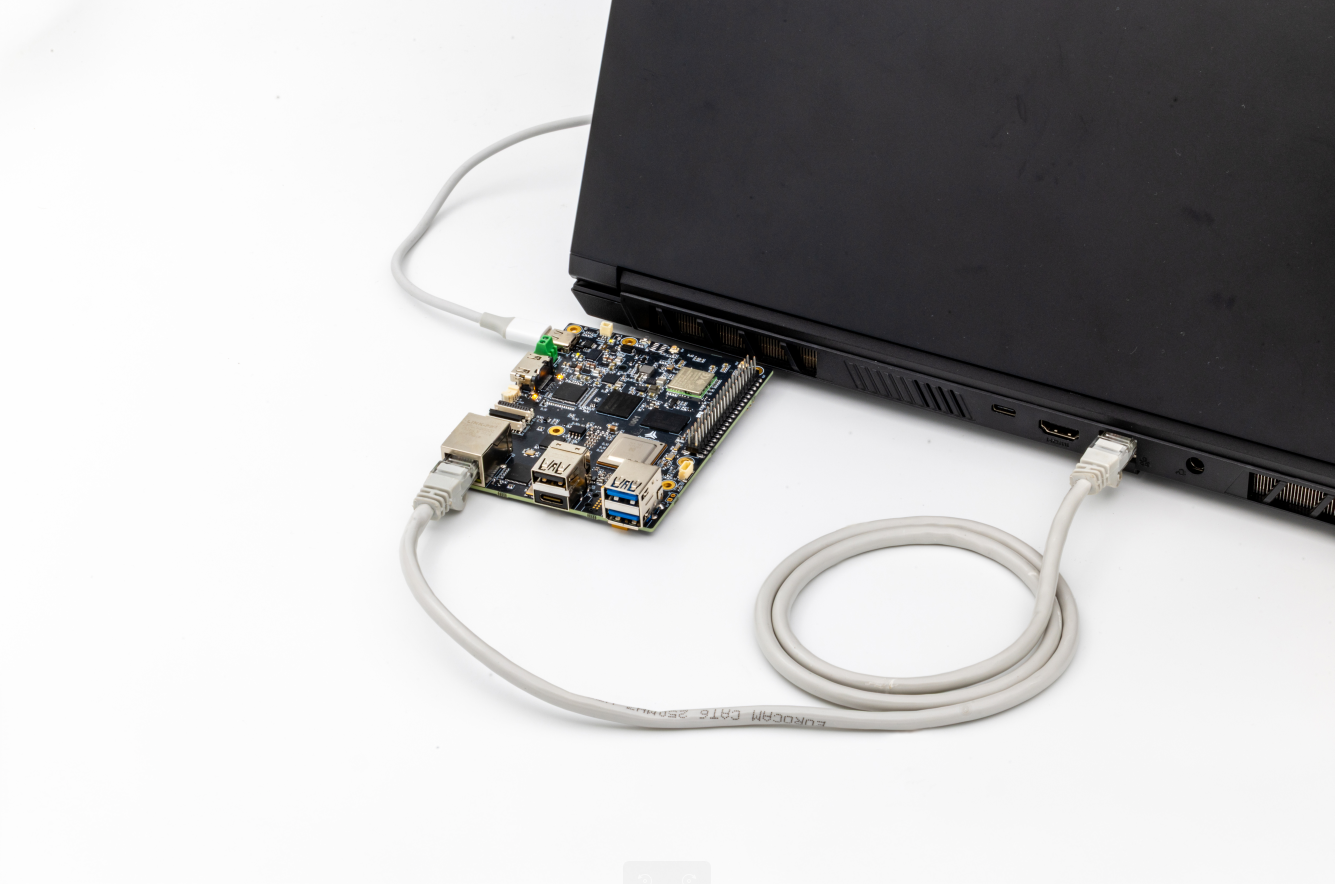
2. Explore Gemstone
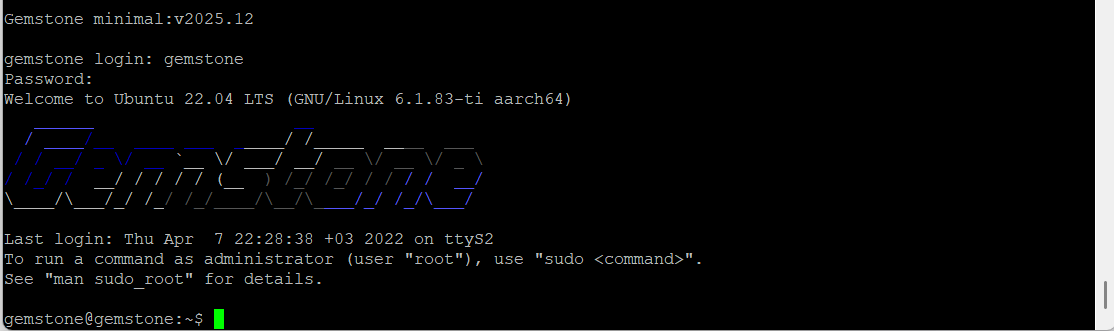
The following steps are for using your Gemstone development board via your computer (for example, connecting to the board’s desktop via a browser or performing operations via Serial Port/Terminal command line). If you have the option to connect a monitor, keyboard, and mouse, you can also explore the board this way!What is a Terminal?
What is a Terminal?
Terminal or Console refers to a method (Command Line Interface) where you can perform operations by writing
commands without a graphical interface, windows, or buttons. Examples include CMD, Powershell on
Windows or the Terminal application on Unix/POSIX-based operating systems. A sample screenshot is provided below.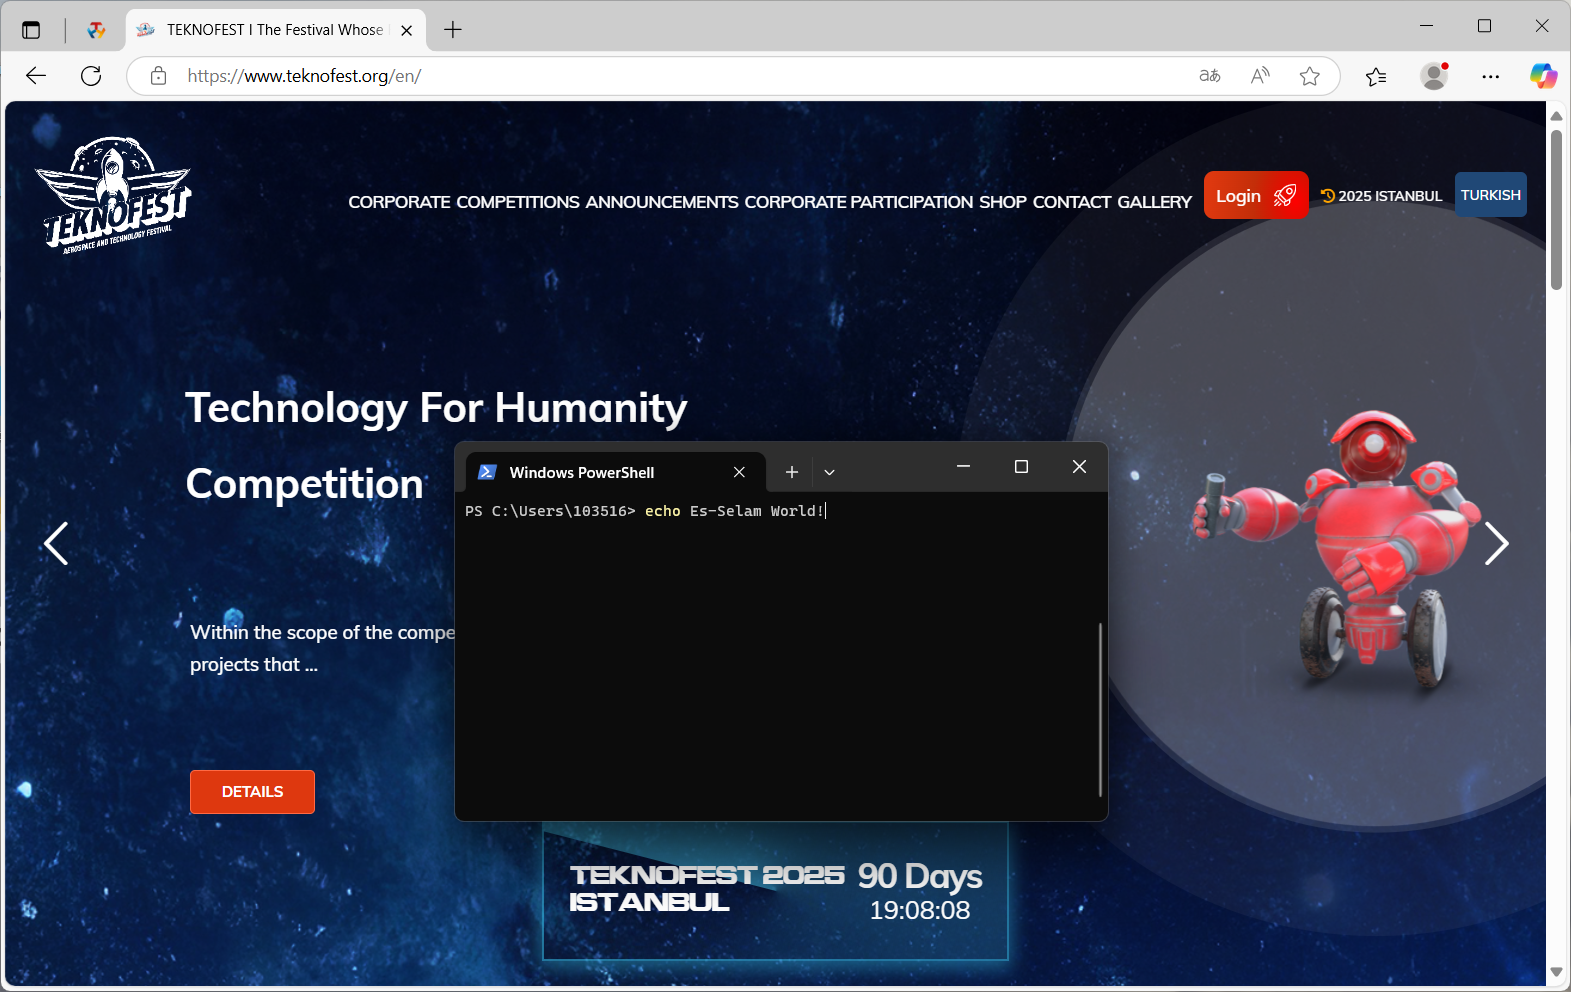
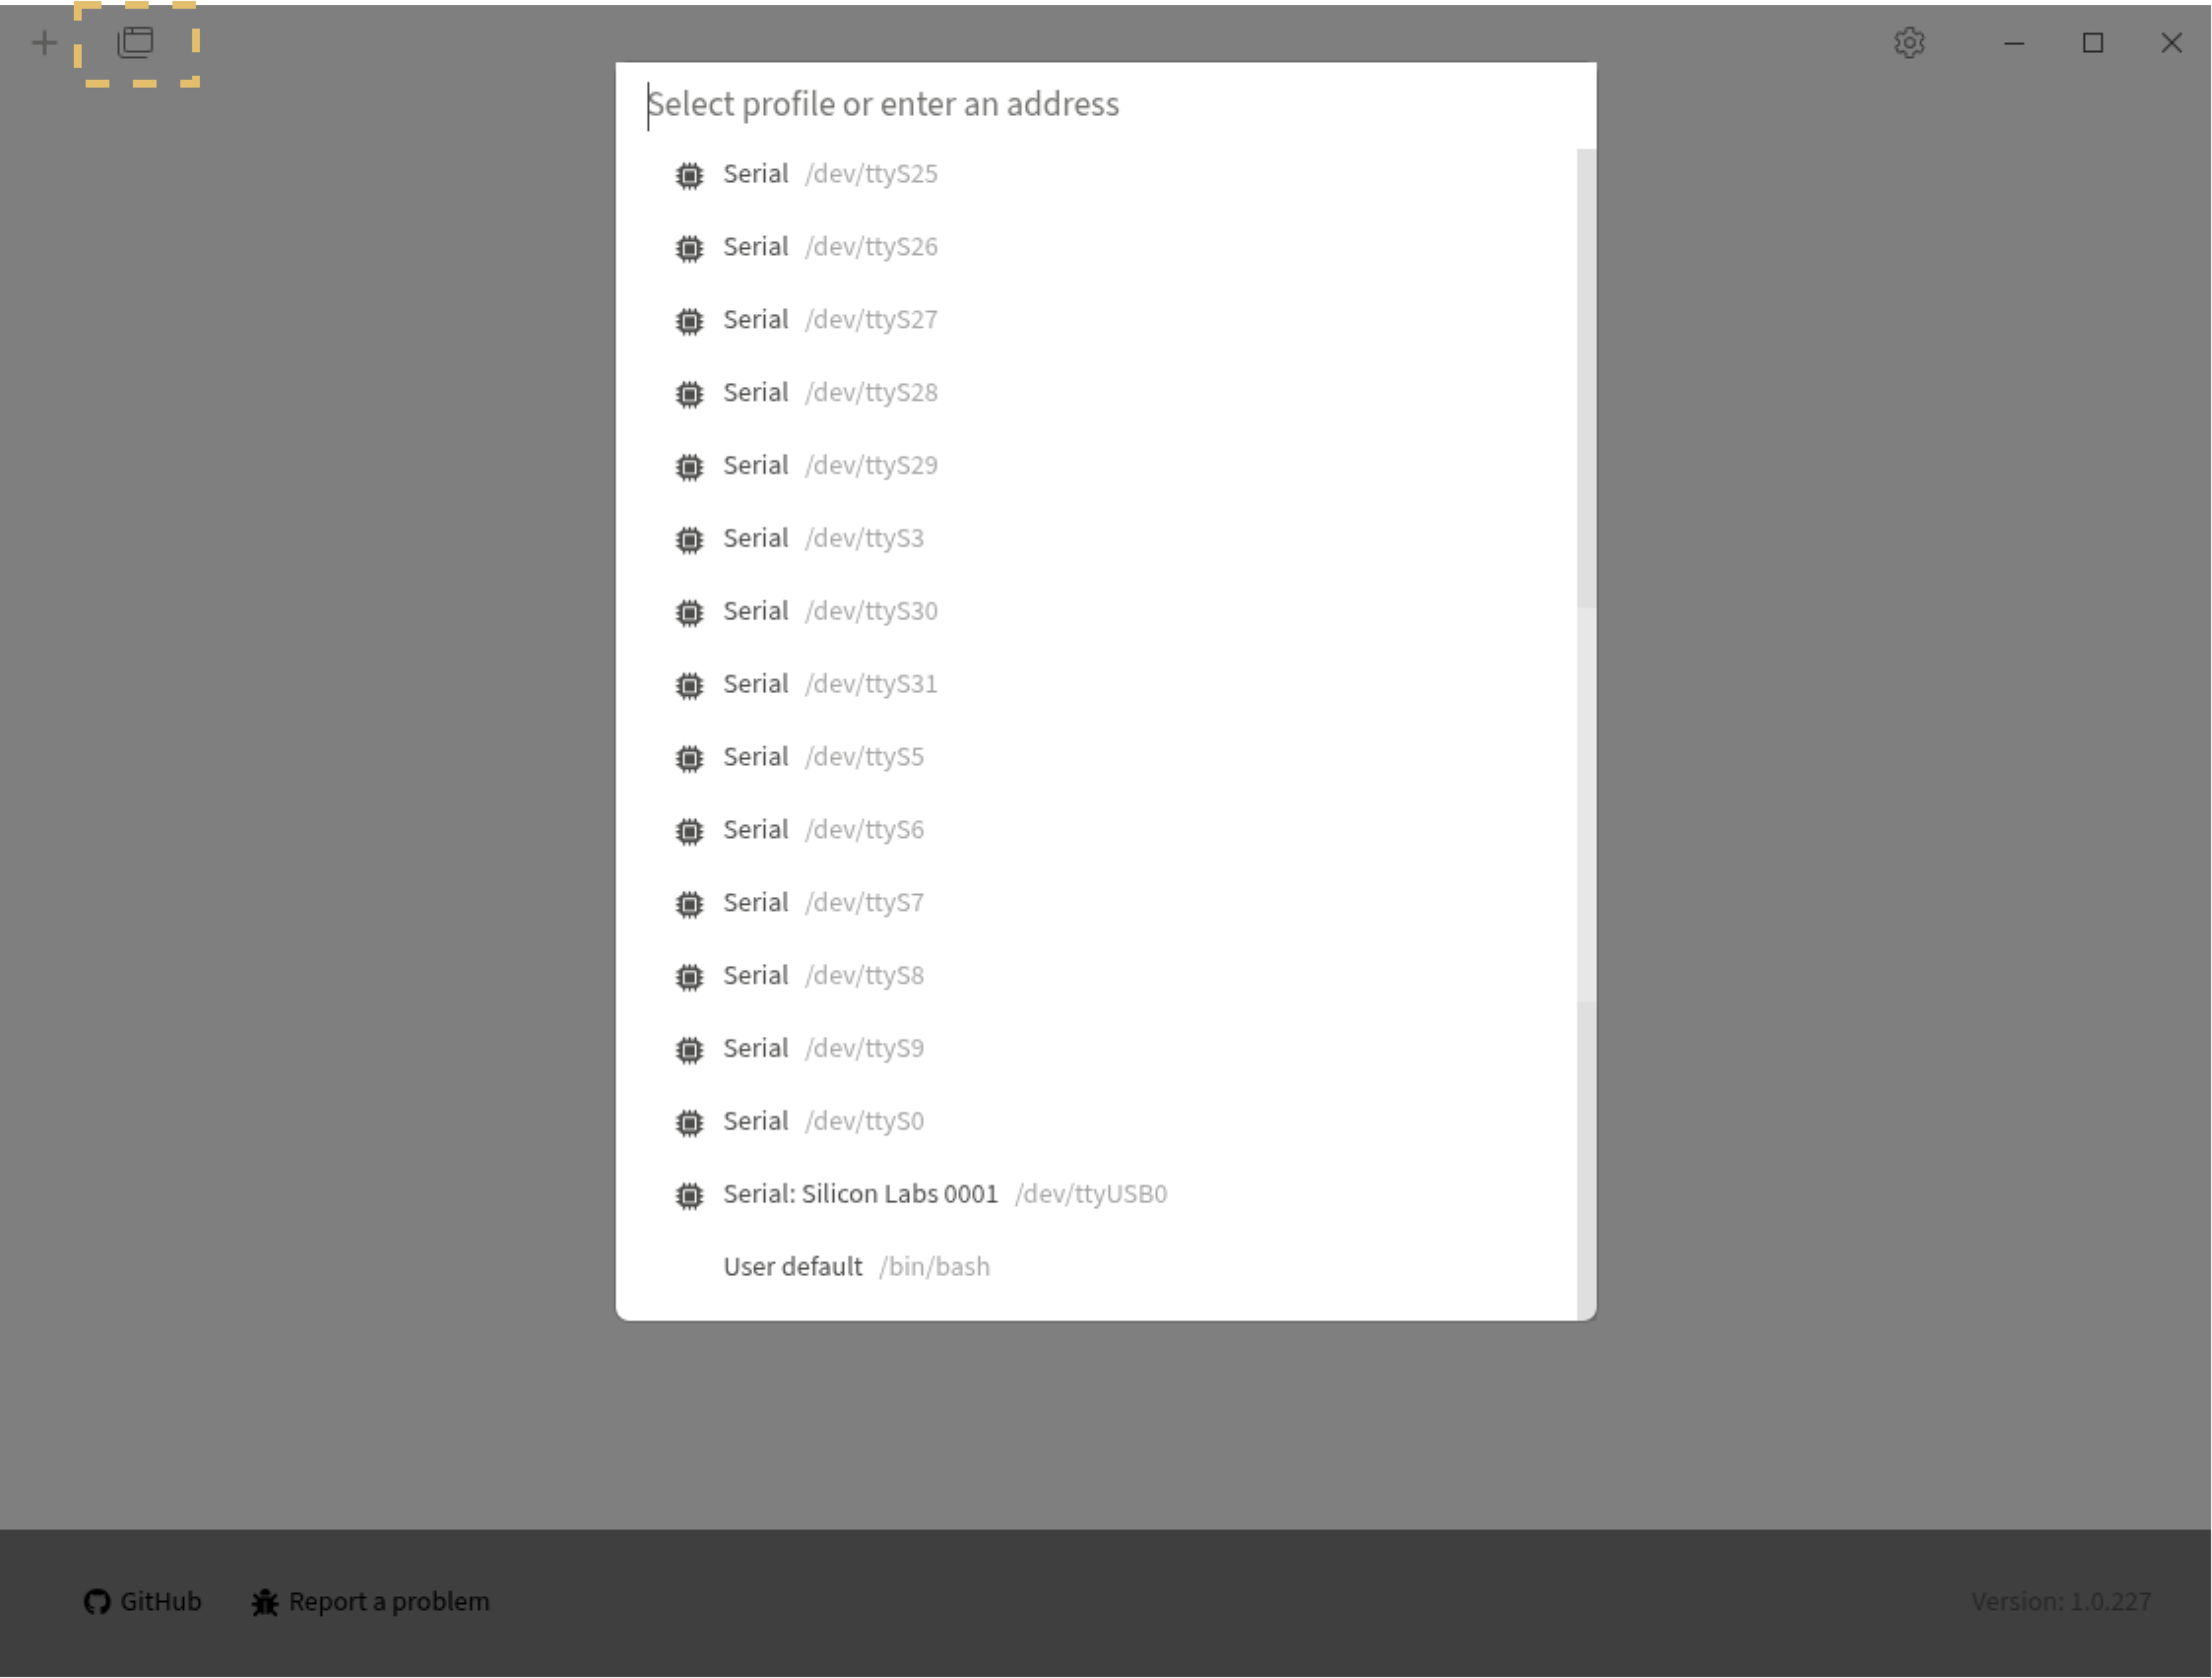
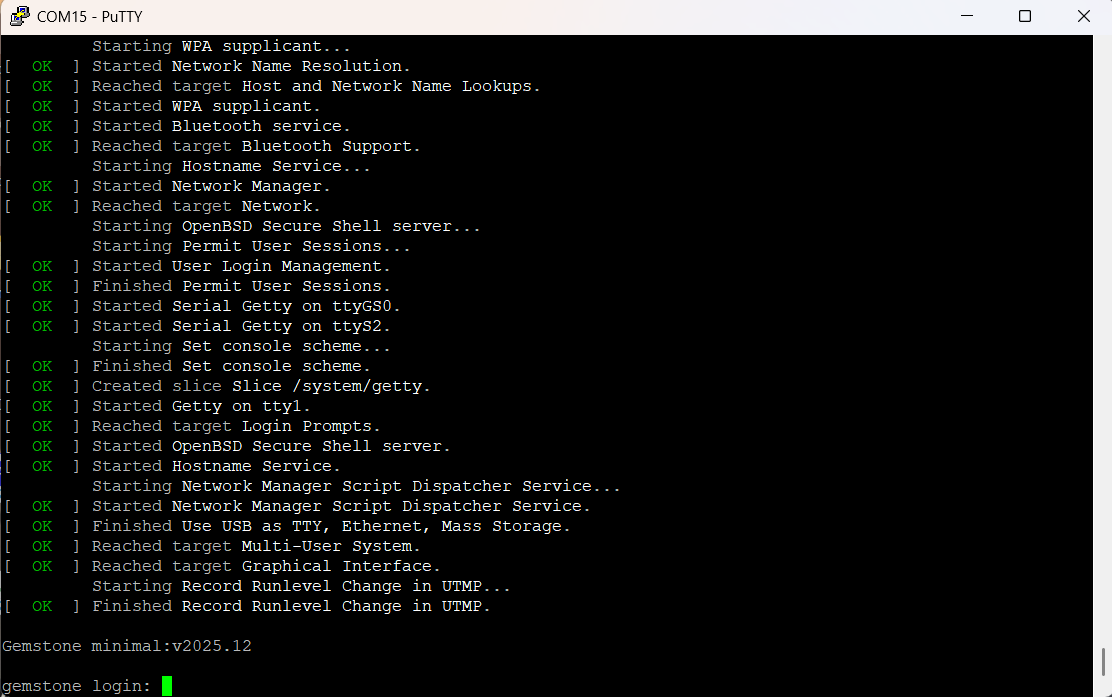
2.1. Serial Port
The USB TTL converter cable is often used to connect to the board via serial port when an Ethernet connection is not available. Normally, when you connect your Gemstone board to your computer via a USB Type-C cable, if the “Gadgets” option under Services in the System Customization section is checked, a serial port connection is possible without needing a TTL cable. However, if unexpected issues arise during development and these features do not work, you can still connect to the board using a USB TTL cable. An advantage of this method is that it allows you to view the console outputs of U-Boot, the preloader (Bootloader) on Gemstone boards. While network initialization is required for outputs to appear over Ethernet, with TTL, outputs are visible from the start.The default serial terminal baud rate value is 115200.
2.1.1. Terminal/Console Application
For Terminal/Console operations, you can use Putty on Windows, Gnome Terminal on Linux, or Terminal on macOS. This documentation will use Tabby.sh, an application that works on all three operating systems.2.1.2. Download the application
Go to Tabby.sh and click the Download button to download the software suitable for your operating system.
2.1.3. Connection with Putty terminal
Go to the Putty Download page and download the Putty installation file suitable for your operating system. After completing the setup, run the program and connect to your board by selecting the connection type shown in the screenshot below.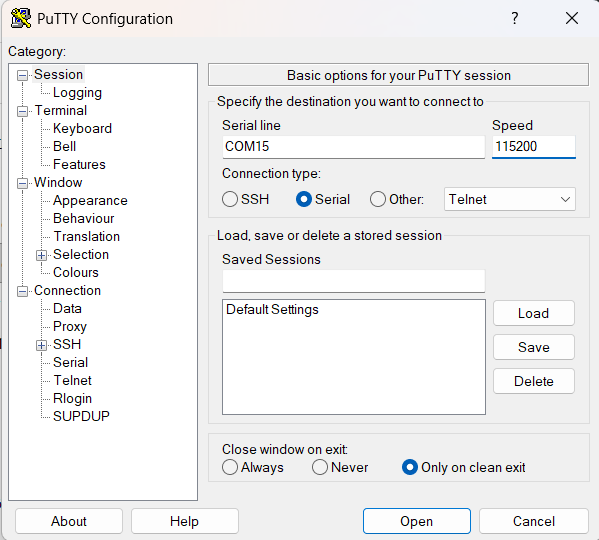
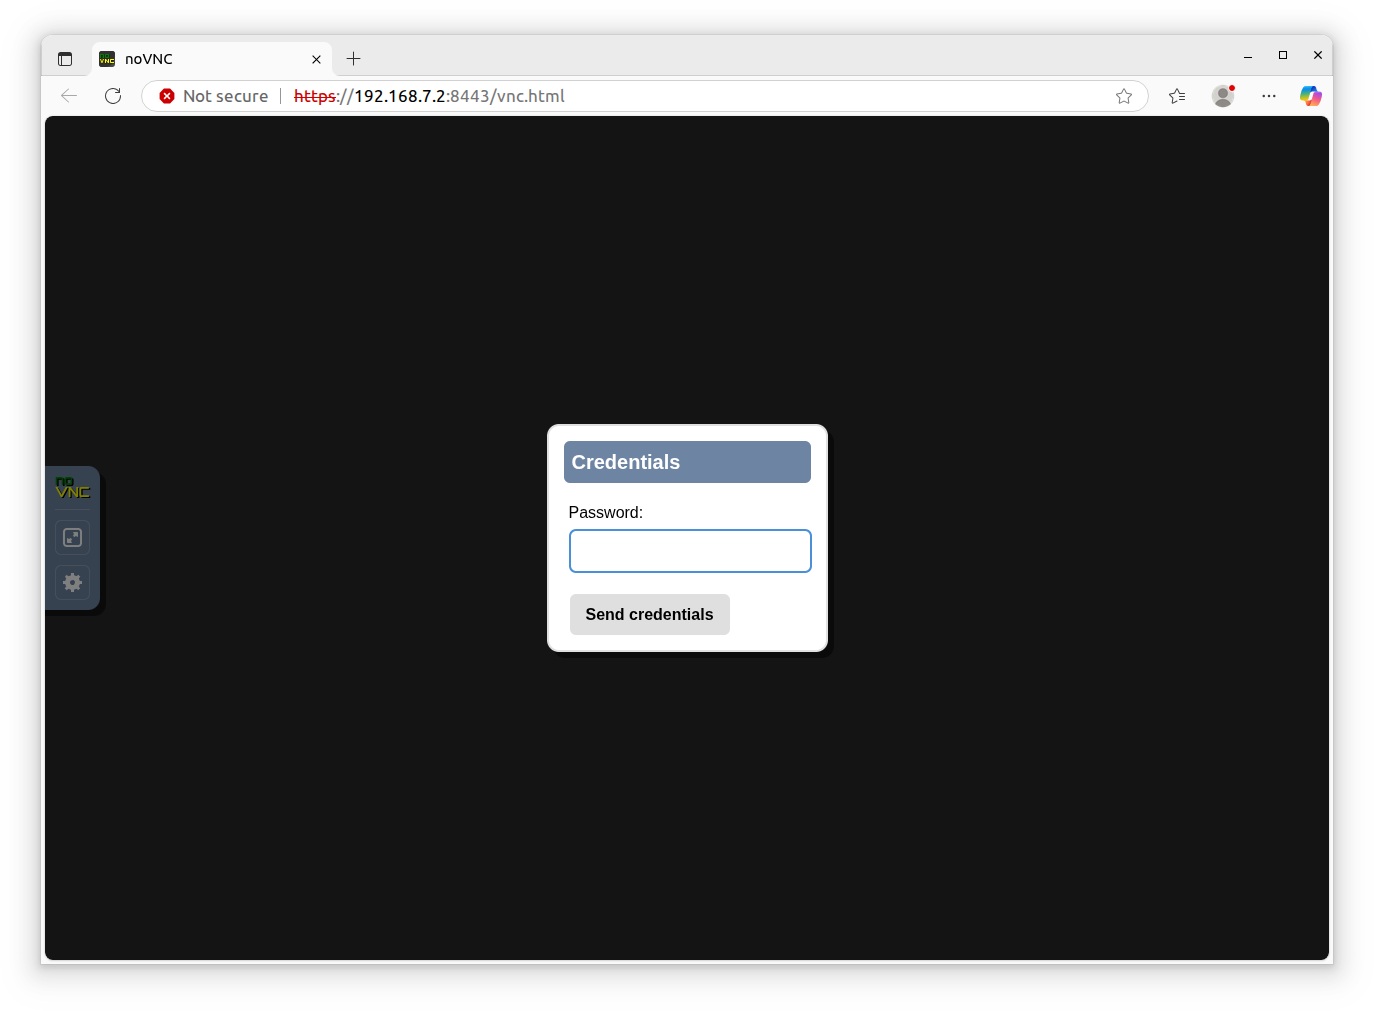
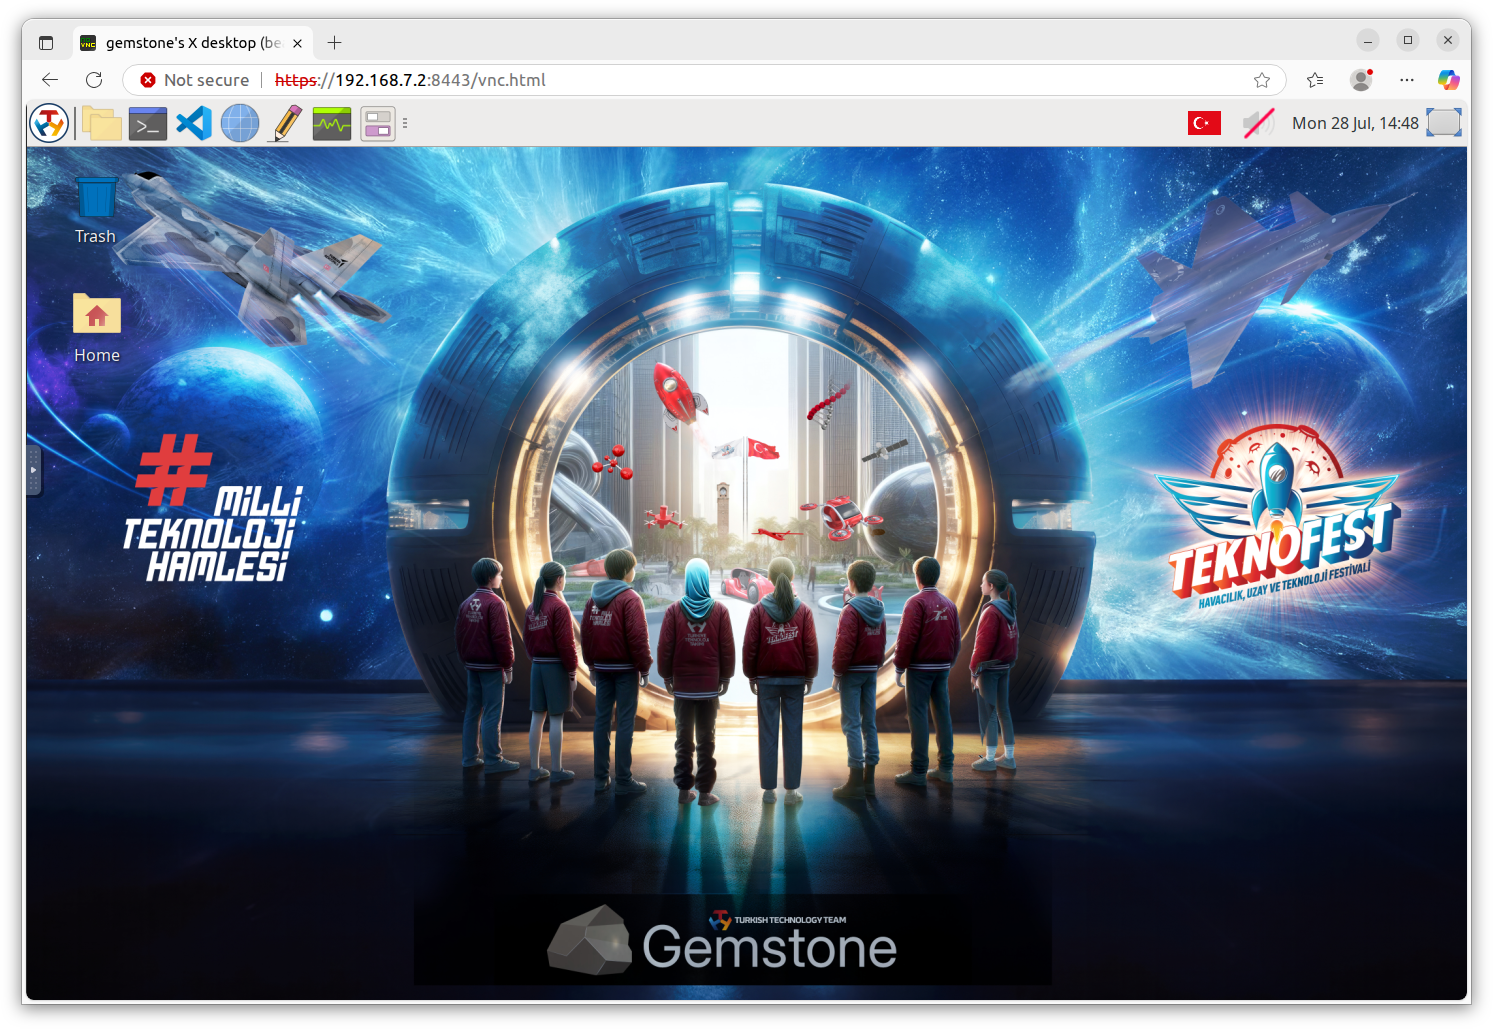
2.2. VNC remote desktop connection via browser
The VNC service is only available with the Desktop image.
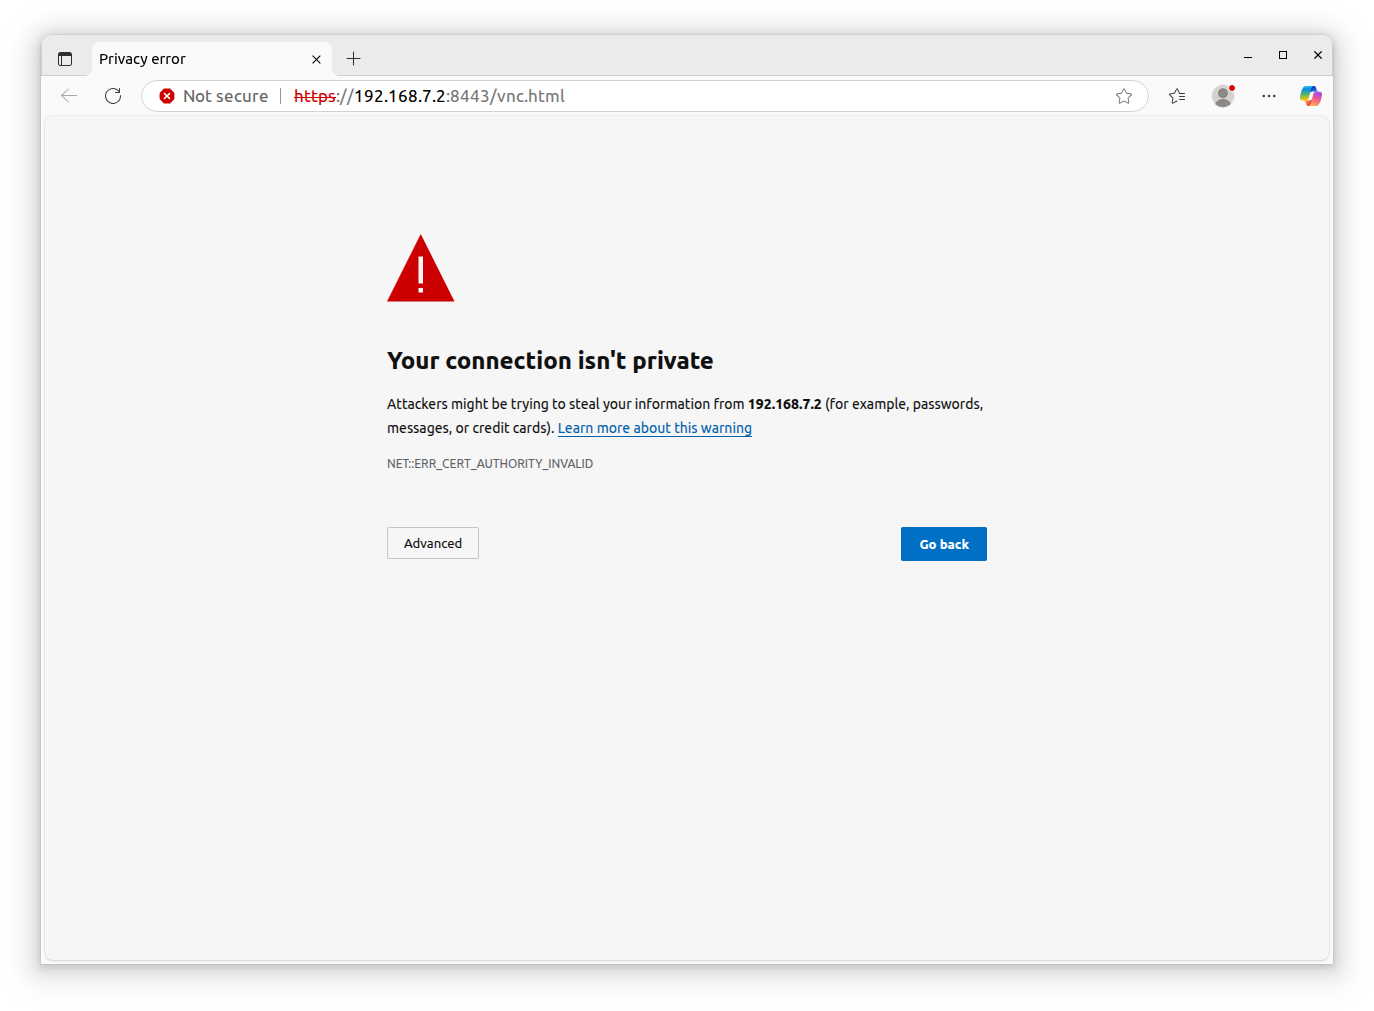
The reason for the browser’s certificate error when connecting is that the VNC server uses a self-signed
certificate. This is normal.
2.3. SSH connection over the network
For a faster and more stable console experience, it is recommended to use SSH over serial port for console access.
2.4. Update the Gemstone operating system
Gemstone development boards include a Debian/Ubuntu-based operating system with a customized real-time Linux kernel. While the version you installed via GemImager is up-to-date, you can update any installed Ubuntu/Debian packages (if available) using the following method.Note: The following operations should be performed on the board via the Terminal icon in the top menu when
connected via remote desktop in a browser or via SSH/Console from your computer. If you have no prior
experience with Linux, you can gain experience by reading the Getting Started section in
the Training Guides.
2.5. Wi-Fi Connection
If you wish to connect the development board to a new WiFi network after the initial setup, rather than during it, open a Terminal using any of the methods described above to connect to the board. Then, run the commandsudo nmtui and select the network information you wish to join from
the Activate Connection section. An example is provided in the video below.
After this process, your development board will join the specified WiFi network and obtain an
IP address. Consequently, you will be able to establish an SSH connection to the respective IP address
from your laptop/computer.