

Github
github.com/t3gemstone/AdGuardHome
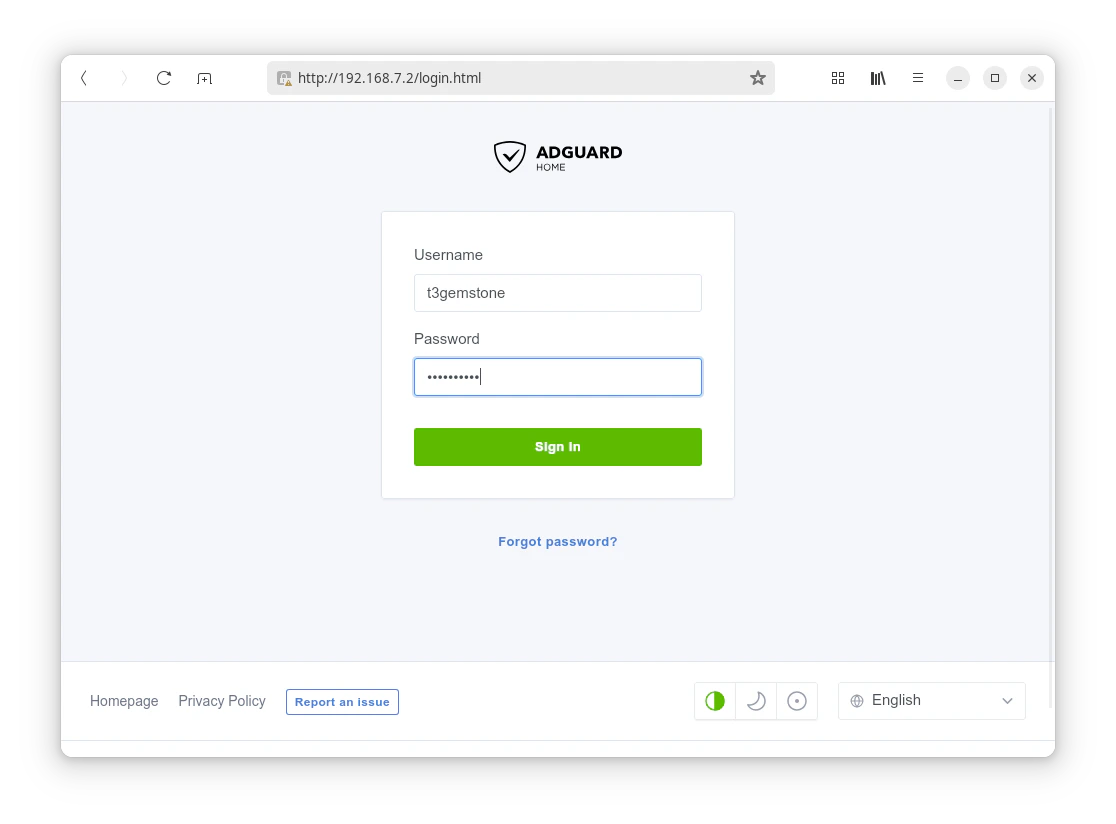
Login
Login
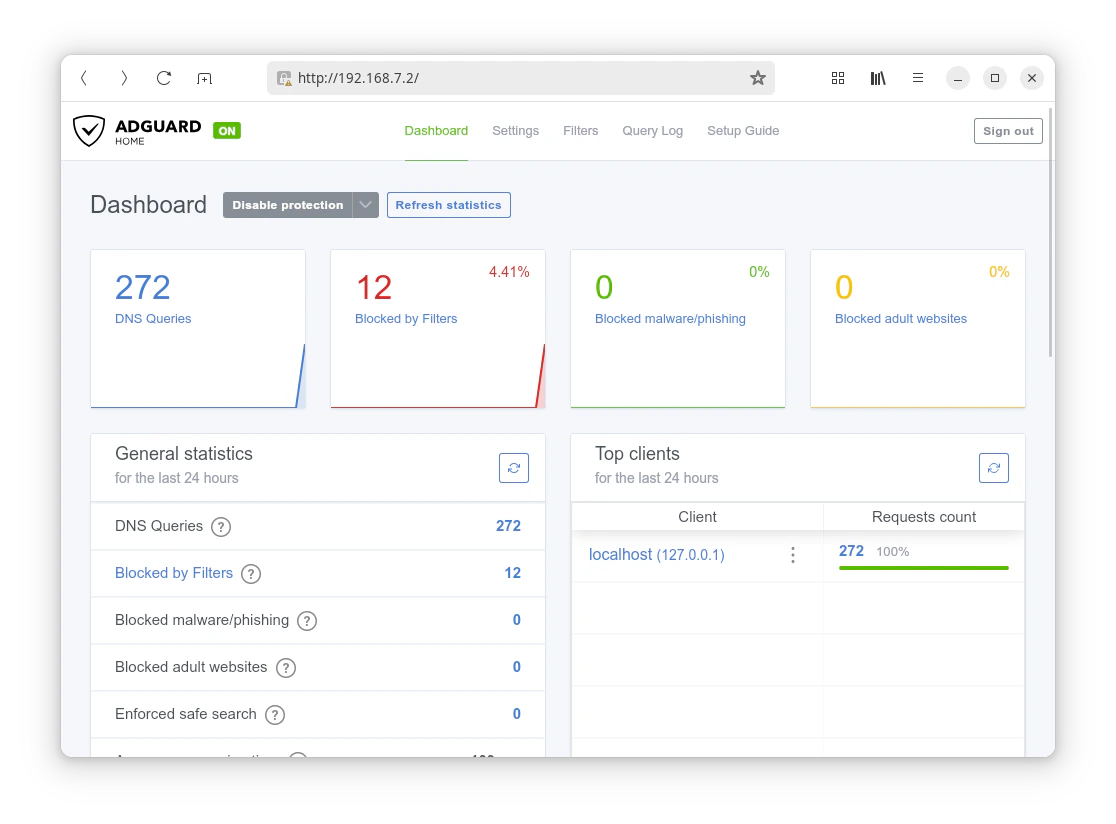
Dashboard
Dashboard
Installation
To install the recompiled version of AdGuard Home specifically built for Gemstone, paste and run the following command in your device’s terminal:First Start and Configuration
After AdGuard Home is installed, you need to connect to its web interface via a browser to perform the initial setup.- Accessing the Interface: Open a browser on a computer or phone connected to the same network and enter
your Gemstone device’s IP address along with the
:3000port (e.g.,http://192.168.1.100:3000orhttp://127.0.0.1:3000from localhost) to access the setup wizard. - Setup Wizard: Click the “Get Started” button on the screen to begin configuration.
- Network Interfaces:
- Admin Web Interface: Specify which interface and port (default: 80) the admin panel will be accessible through.
- DNS Server: Choose which interface and port (default: 53) the DNS server will listen on.
- Admin Account: Set a username and a strong password for panel access. Make sure to write these down, as you will need them to log in.
- Configuring Devices: In this step of the wizard, you will see DNS routing instructions for different devices. You can skip this step for now; it is explained in detail below.
- Go to Dashboard: After finishing the setup, log in with the username and password you created by clicking the
“Open Dashboard” button or by navigating to the port you specified (e.g.,
http://192.168.1.100or simplyhttp://127.0.0.1on the device).
Configuring Devices (DNS Forwarding)
In order for the devices on your network to benefit from ad blocking and firewall features, you must change their DNS server addresses to the IP address of your Gemstone device (the AdGuard Home server). You can do this in two ways:Method 1: Via Router / Modem (Recommended)
This method automatically applies firewall protection to all devices connected to your modem. Configuration steps for common modem interfaces provided by popular Internet Service Providers are as follows:Türk Telekom (ZTE / TP-Link Modems)
Türk Telekom (ZTE / TP-Link Modems)
To configure DNS on ZTE (e.g., ZXHN H298A) or TP-Link (e.g., TD-W9970) modems provided by Türk Telekom:
- Go to
http://192.168.1.1in your browser and log into the modem interface. - Click on the Local Area Network (LAN) or Network menu.
- Find the DHCP Server or LAN Settings submenu.
- Enter your Gemstone device’s IP address into the Primary DNS Server and Secondary DNS Server boxes.
- Save the settings and reboot the modem.
Note: Türk Telekom might hide the DNS editing menu on the interface with some software updates. If you cannot make changes in the menu, you should use the device-based configuration in Method 2 to use the protection.
Turkcell Superonline (Huawei / ZTE Modems)
Turkcell Superonline (Huawei / ZTE Modems)
To configure DNS on Huawei (e.g., HG255s) or ZTE (e.g., ZXHN H267A) fiber modems provided by Superonline:
- Go to
http://192.168.1.1in your browser and log into the interface (The password for Superonline modems is usuallysuperonline). - Click on the Local Area Network (LAN) tab from the top menu.
- Go to the DHCP Server settings from the menu on the left.
- If assigning static DNS is allowed, enter your Gemstone device’s IP address in the Primary DNS and Secondary DNS fields.
- Click Apply to save.
Note: On many Superonline modems (especially Huawei fiber modems), the DNS setting is locked by the service provider. If you are not allowed to make changes on the interface, you will need to change the DNS on a per-device basis using Method 2.
TurkNet (Zyxel Modems)
TurkNet (Zyxel Modems)
To configure DNS on the Zyxel (e.g., VMG3625-T50B or VMG8623-T50B) series modems frequently used by TurkNet users:
- Log into the interface from
http://192.168.1.1in your browser (Username is usuallyadmin, and the password is on the back label of the modem or isturknet). - From the menu icon (top right or left), navigate to Network Setting > Home Networking.
- Switch to the LAN Setup tab on the page that opens.
- Scroll down, locate the DNS Values setting, and change its type to Static.
- Enter your Gemstone device’s IP address in the DNS Server fields and click the “Apply” button to save the settings.
Other Modems
Other Modems
General steps:
- Open your browser and log into the modem interface via
http://192.168.1.1orhttp://192.168.0.1. - Find and open the DHCP / DNS Settings or LAN Settings section.
- Enter your Gemstone device’s IP address in the Primary and Secondary DNS server (DNS 1 and DNS 2) fields.
- Save the settings and reboot your modem.
Method 2: Device-Based Configuration
If you only want certain devices to benefit from the protection or if you cannot modify your modem settings, you can change the DNS address on a per-device basis.Windows
Windows
- Go to Control Panel > Network and Internet > Network and Sharing Center.
- Click on Change adapter settings on the left.
- Right-click your active network connection and select Properties.
- Select Internet Protocol Version 4 (TCP/IPv4) and click Properties.
- Check the “Use the following DNS server addresses” option.
- Enter your Gemstone device’s IP address and save the settings.
macOS
macOS
- From the Apple () icon at the top left of the screen, go to System Settings (or System Preferences) > Network.
- Select your active connection (Wi-Fi or Ethernet) and click the Details (or Advanced) button.
- Switch to the DNS tab.
- Click the
+button at the bottom left, add your Gemstone device’s IP address, and click OK.
Android
Android
- Go to Settings > Network & Internet > Wi-Fi.
- Long press on the network you are connected to and tap Modify network or the gear (settings) icon.
- Under Advanced settings, change the IP settings to Static.
- Enter your Gemstone device’s IP address in the DNS 1 (and DNS 2 if needed) fields and save.
iOS (iPhone/iPad)
iOS (iPhone/iPad)
- Go to Settings > Wi-Fi.
- Tap the blue information
(i)icon next to the network you are connected to. - Scroll down and tap on Configure DNS.
- Mark the option as Manual.
- Delete the default servers, tap the Add Server button to add your Gemstone device’s IP address, then exit the settings to save.